Page History
...
Step | Action |
|---|---|
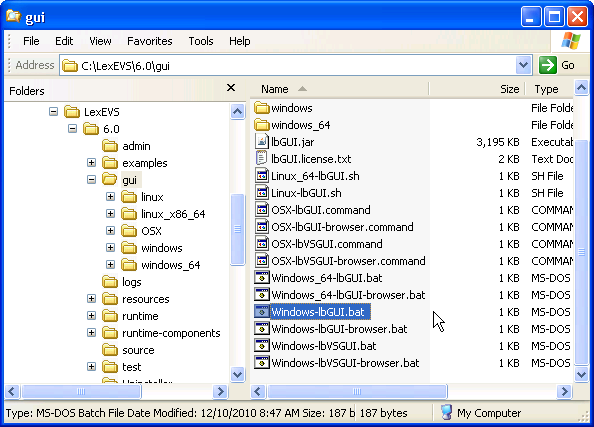
1. Launch the administration GUI. | |
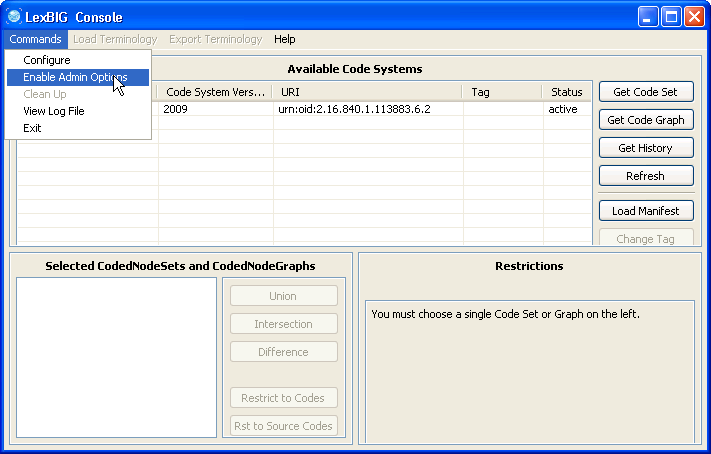
2. Enable the administration option. | |
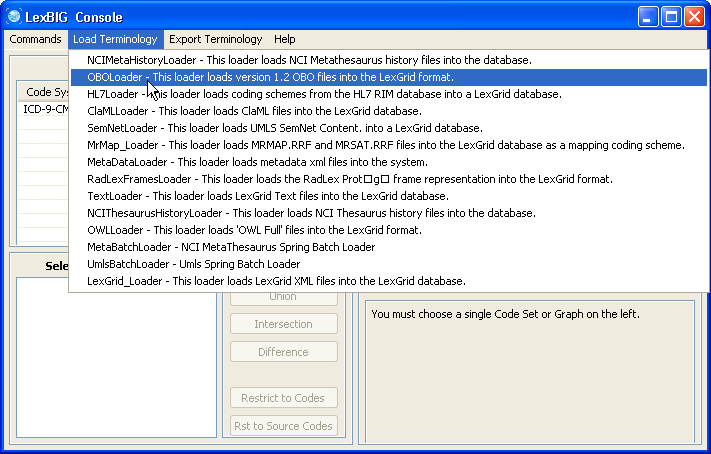
3. In this example, we use the cell.obo ontology as the example ontology, so we choose OBOloader. | |
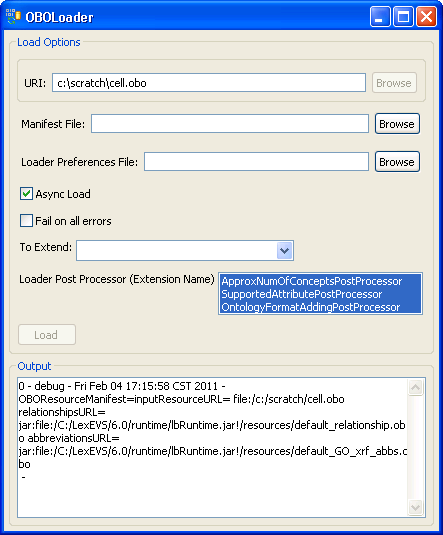
4. Provide cell.obo file's path. If you don't have a manifest file or preferences file then leave these fields blank. Click on the 'Load' button. After a few minutes, the loading process is done. You can find 'End State: complete' in the Output message box. Close this window, and return to the administration GUI, a 'cell' record should show up on the Available Code Systems list. | |
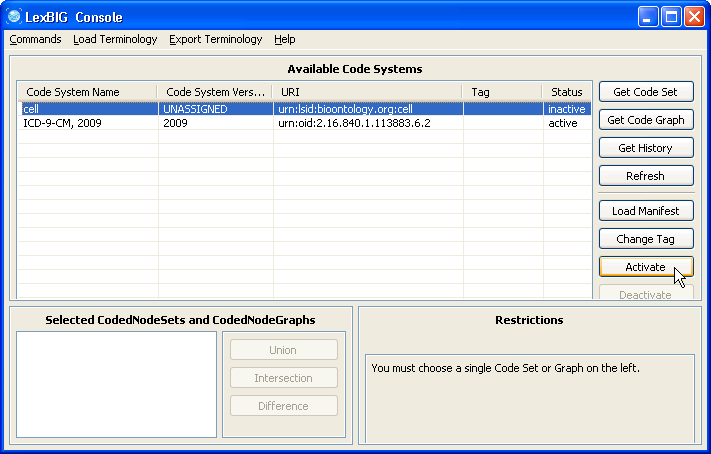
5. Select the cell ontology row and click the 'Activate' button. The status column of 'cell' should change to active. | |
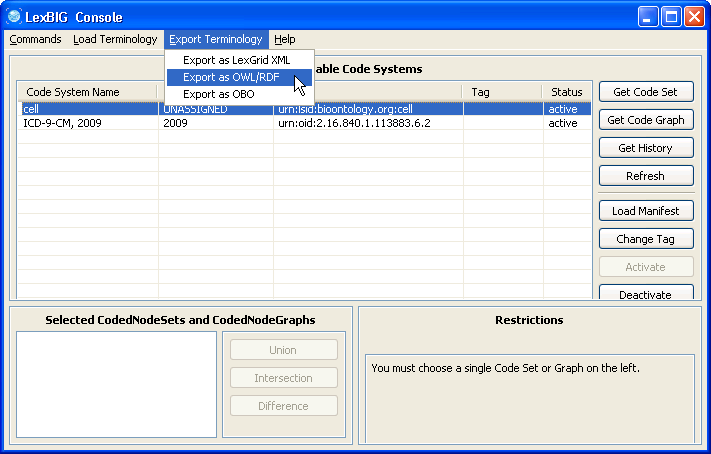
6. Make sure the cell ontology is still selected. Go to the 'Export Terminology' menu, click on 'Export as OWL/RDF' in the drop down menu. | |
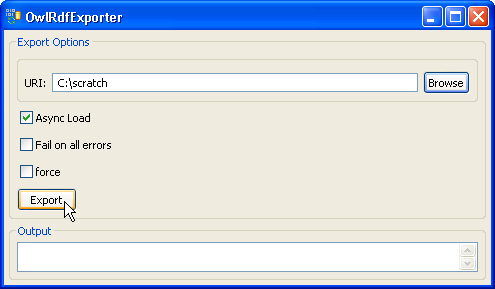
7. Provide a path in the 'URI' text box. The exported file name is automatically generated by the system, so we don't need to specify the file name. Click on the 'Export' button. | |
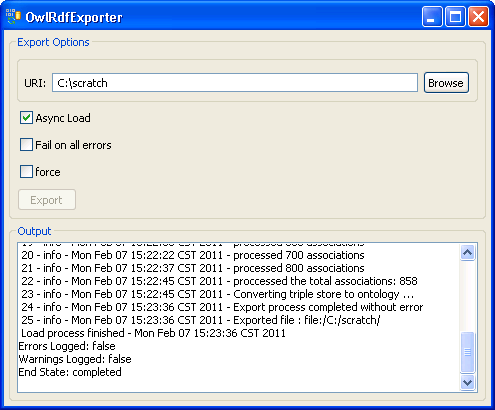
8. A set of status messages will show up in the Output text box. When the 'End State: completed' statement pops up, the exporting process is complete. | |
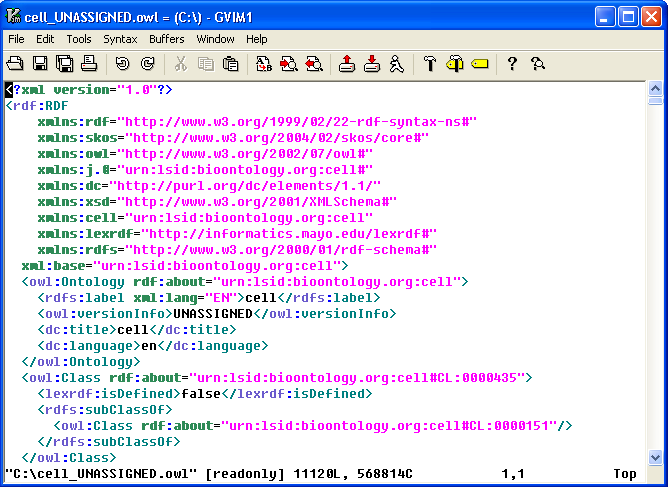
9. The convention of the exported file name is: <coding system name>_<version>.owl. In this example, cell ontology has no version information, so 'UNASSIGNED' is used as the version. The name of the OWL file in this case will be cell_UNASSIGNED.owl and it is in the C drive's root directory. |
...

