Page History
...
- Select Resource groups > add.
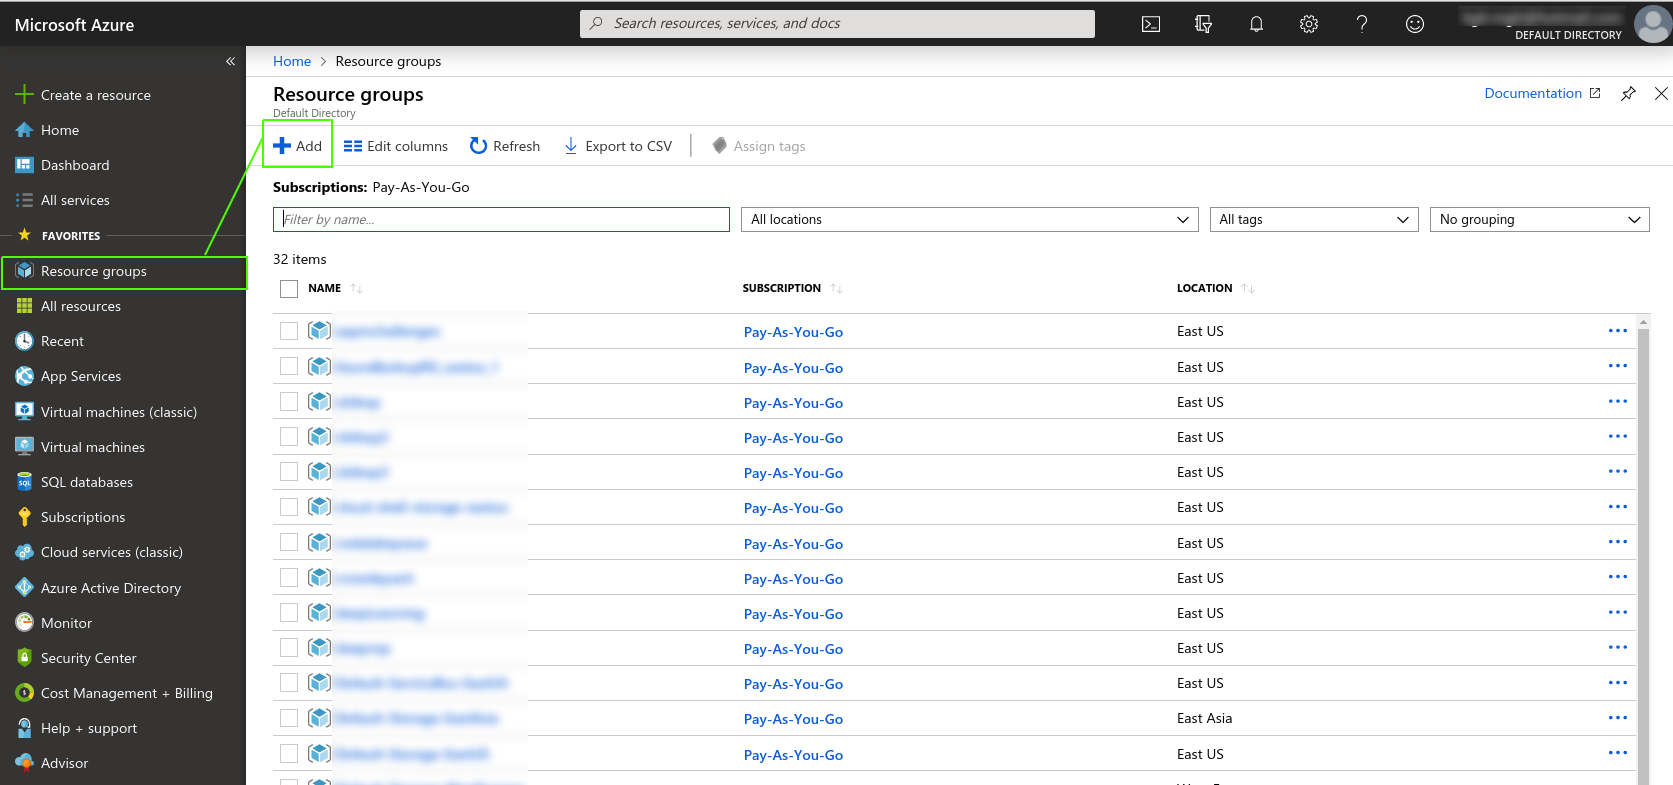
- Name the resource group and then decide how you will pay for this service.
- Click Review + create.
- Go to the resource group and add a VM:
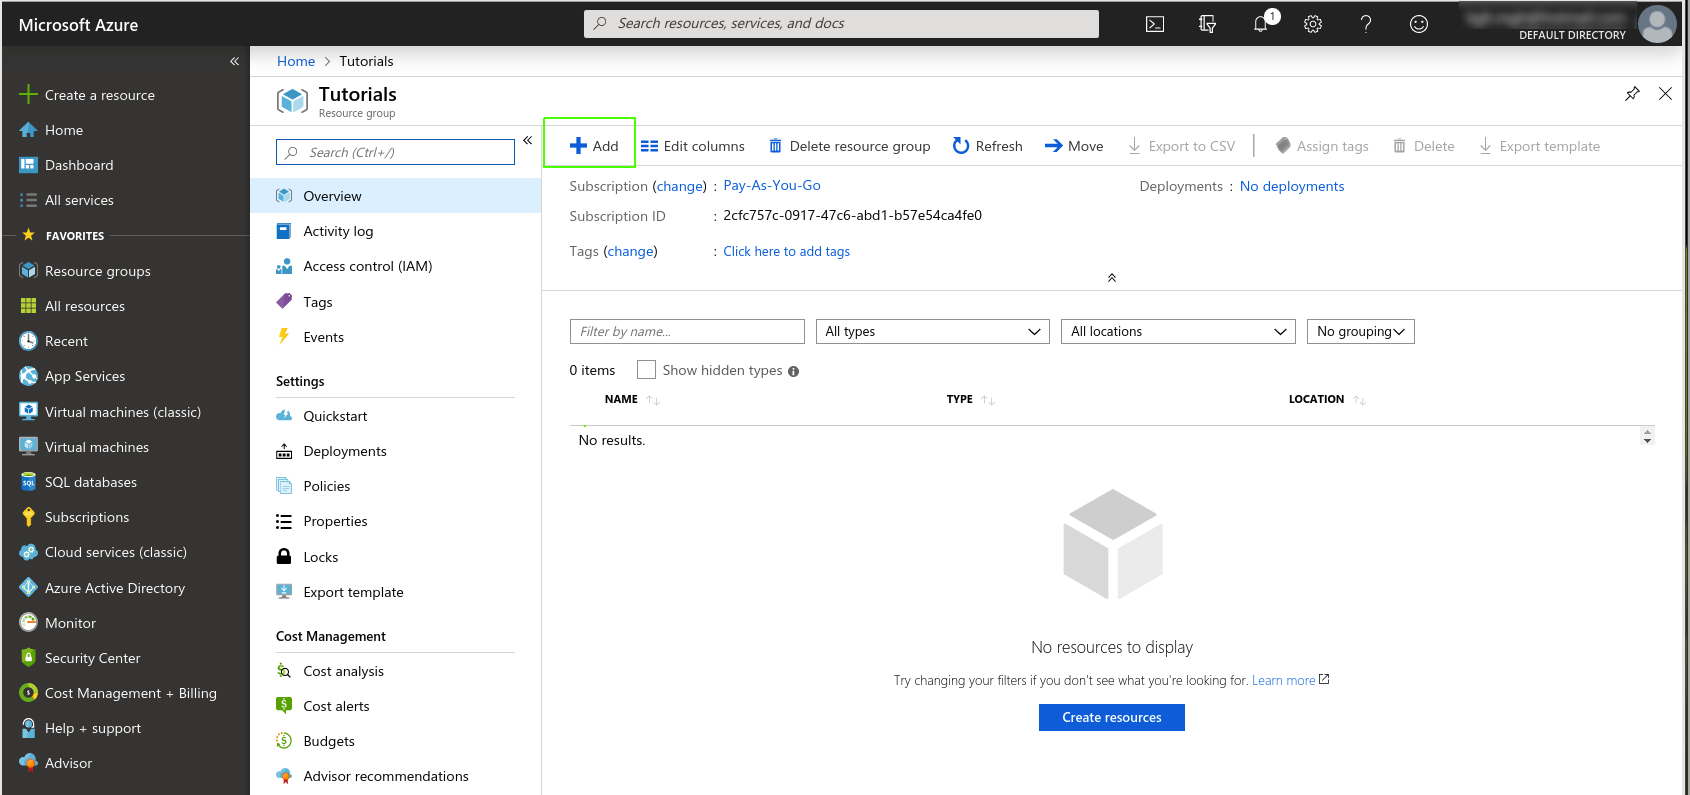
Choose Ubuntu Server 18.04 LTS.
The VM creation page appears.Choose the following settings.
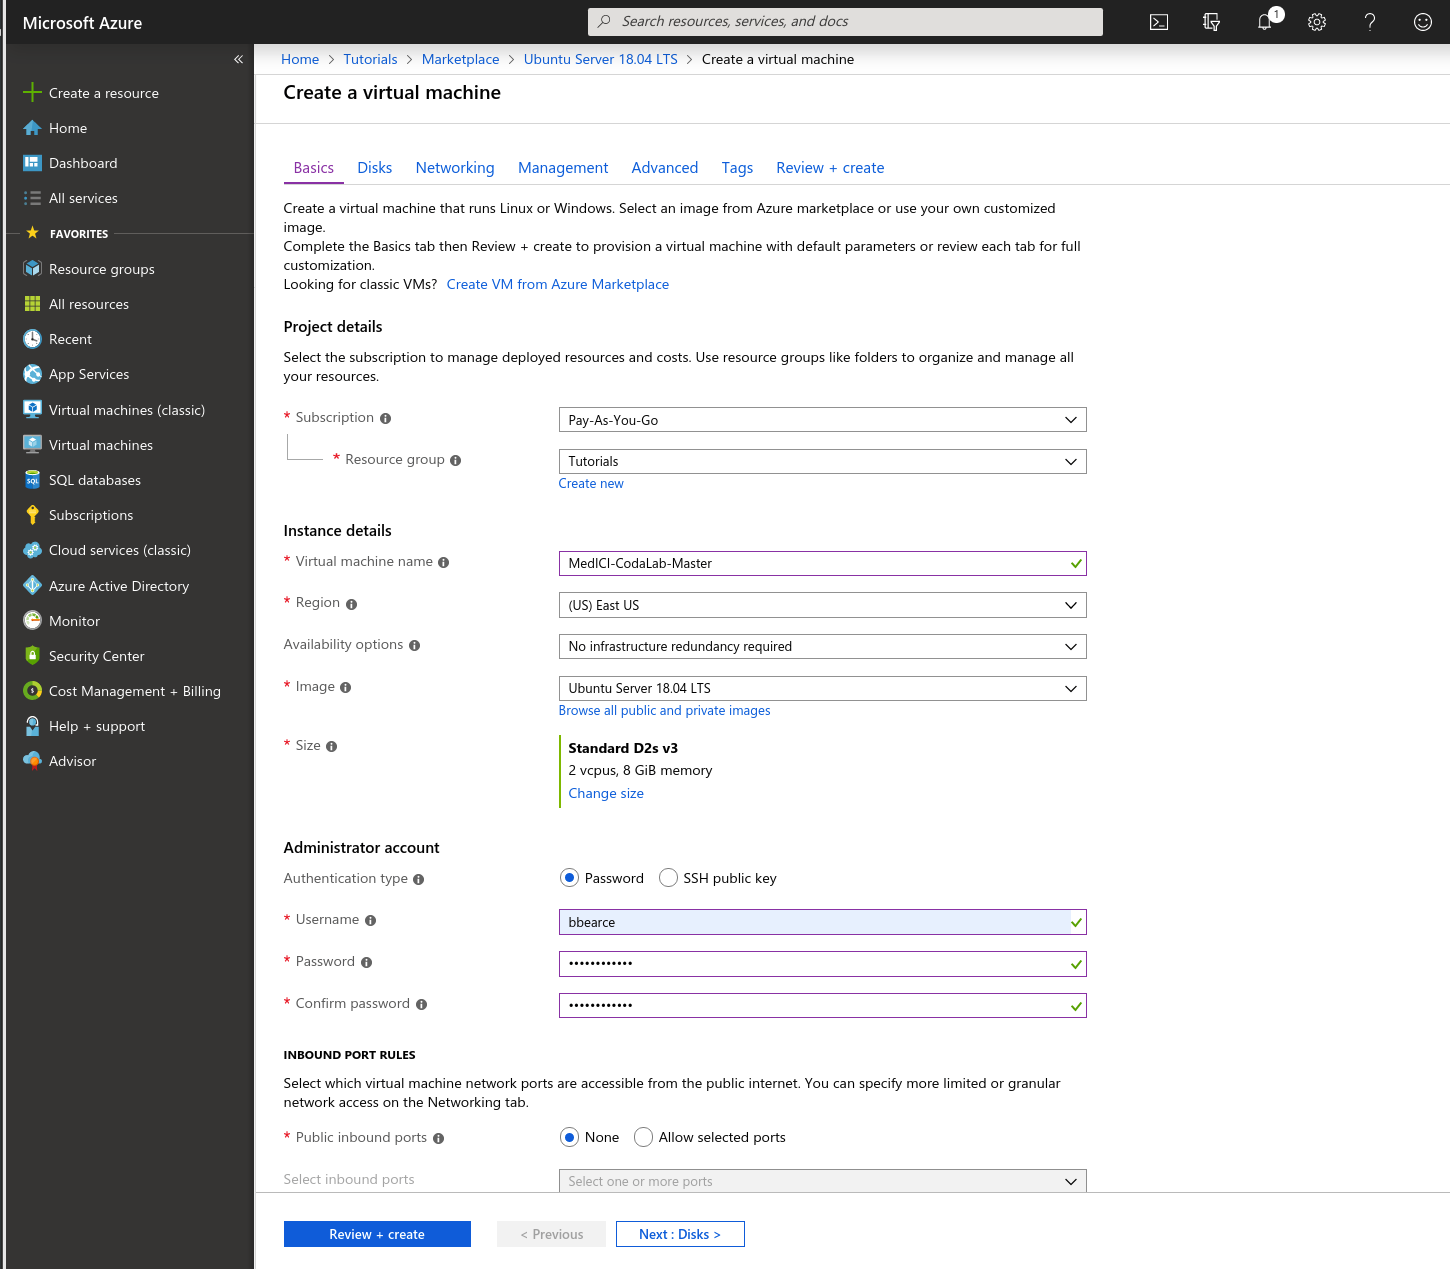
- Now click Review + create. Review the options and then click create. Azure starts creating the VM and then finishes, as shown in the following two images.


IP Address Config
...
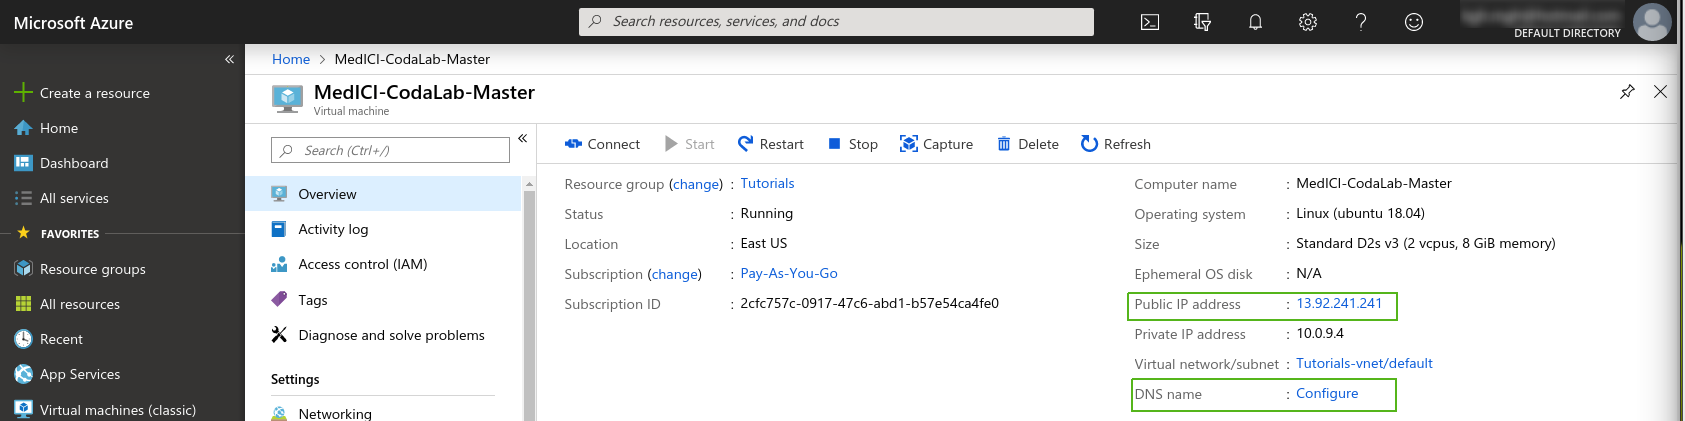
- Navigate to the VM by clicking Go to resource.
...
- Go to the resources home page
...
- to get the public IP address so
...
- that you can access the machine.
...
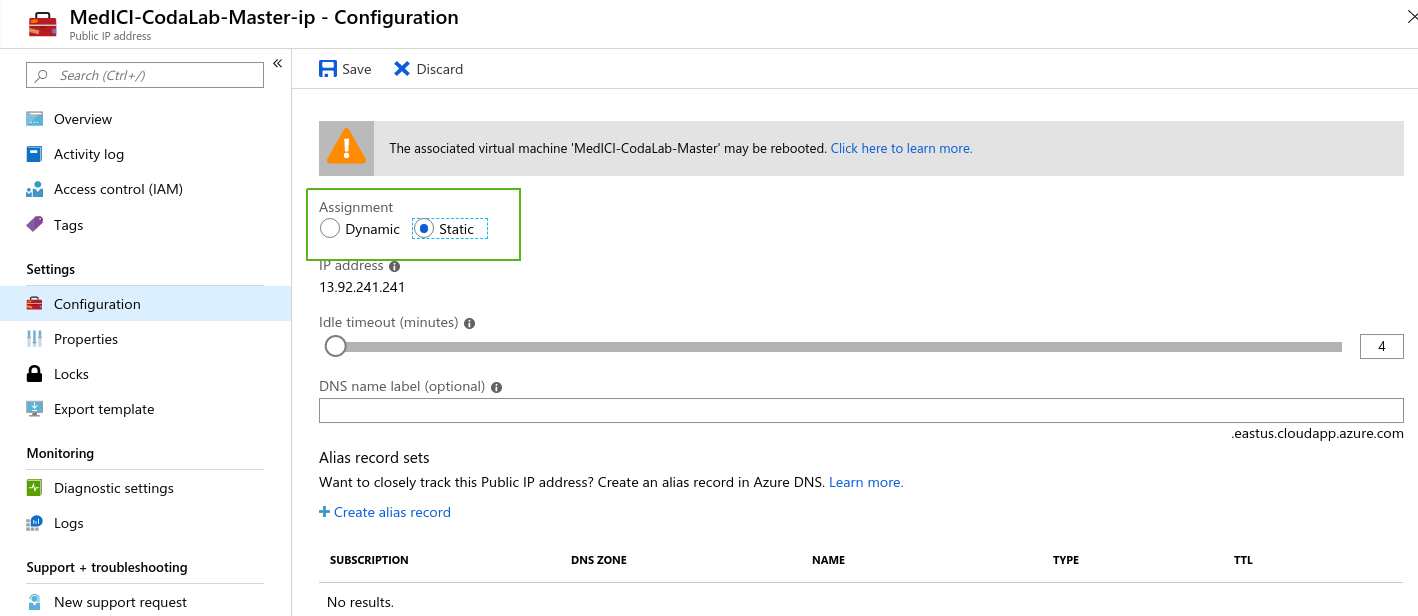
- Set the IP address setting
...
- toStatic.
...
- Make a note of the IP
...
- address. Click Configure to edit the DNS settings.
...
- Click Save.
SSH Port
We need to configure the machine to be ssh accessible (port 22) and open http (port 80) (https://medium.com/techinpieces/practical-azure-how-to-enable-ssh-on-azure-vm-84d8fba8103e). Go to the VM and click Networking. On the right find the button Add inbound port rule. Change Destination port ranges to 22, Protocol to TCP, Priority to 330, and Name to anything you’d like:
...