 |
Page History
...
- There are a number of prerequisite software products that you must install to run a LexEVS Local Runtime on your platform. You must make sure that you have the proper software and versions, depending on which LexEVS environment you are installing. Do this now, for the Local Runtime designated prerequisite software, before continuing to the install steps.
- As an option you may consider the command line install of a LexEVS Local Runtime for putting all the necessary files in place based on a pre-decided list of components to include. As noted in the last step of the GUI Installer for LexEVS Local Runtime, you can save a file that represents the choices you have made during the GUI install. This file can be used as-is or be edited and then fed into an install on another server. Follow the steps for installing a LexEVS Local Runtime using the optional command line method if you should choose this route.
- Complete the Downloading and Installing the LexEVS Local Runtime steps below.
Once you have completed the prerequisite software install, the Local Runtime environment install steps, and the verification test as described in this guide then you should be ready to start programming using the API to meet the needs of your application. Not counting prerequisite software products the installation and verification should not take more than 60 minutes.
...
Step | Action | |||||||||||
|---|---|---|---|---|---|---|---|---|---|---|---|---|
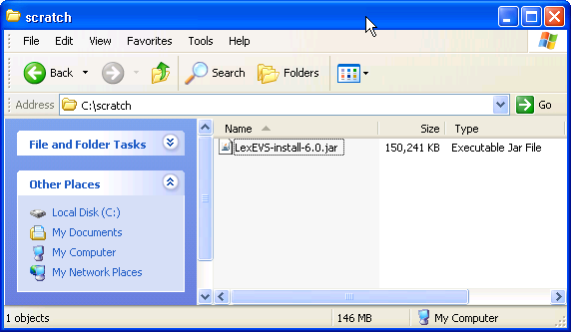
1. Download the latest version of the Local Runtime GUI install package from the right. The location you have chosen to save this on your computer will be referred to as the SAVE_DIRECTORY. Examples will use scratch as the directory.
|
| https://gforge.nci.nih.gov/docman/view.php/491/23714/lexevsapi60_notes.html]
| ||||||||||
2. Using a file explorer, navigate to the SAVE_DIRECTORY. Double Click on the downloaded JAR file. This will launch the install wizard. |
| |||||||||||
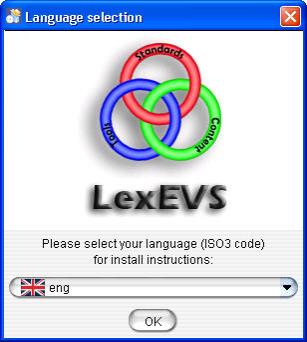
3. Click the OK button to begin the installation.
|
| |||||||||||
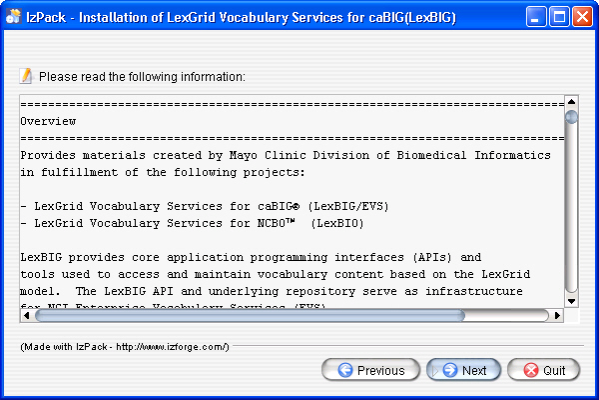
4. After the initial welcome screen, the release notes for the LexEVS distribution are displayed. Once you have read through the release notes click the Next button. |
| |||||||||||
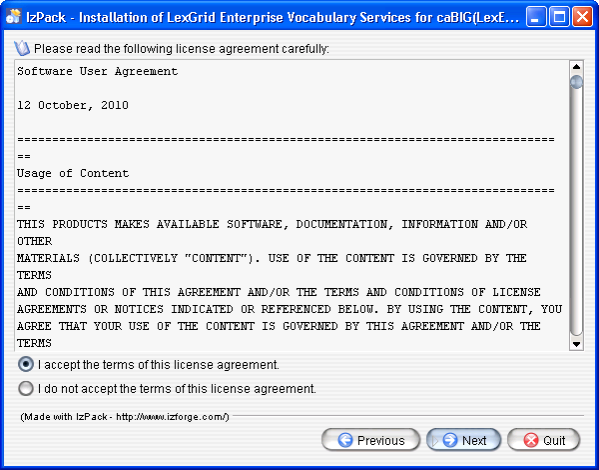
5. Review the license agreement of the LexEVS software. Select "I accept the terms of this license agreement." and click Next. |
| |||||||||||
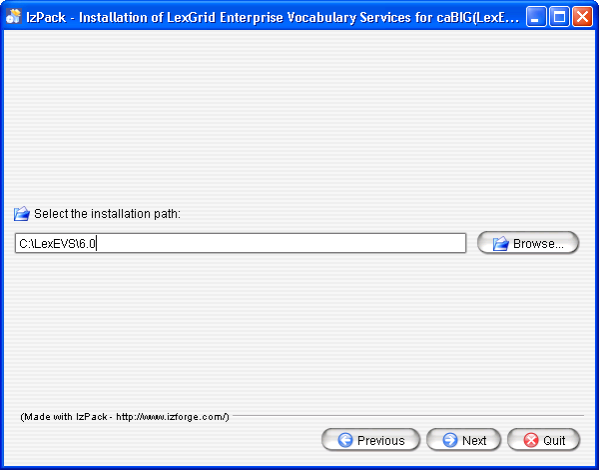
6. Enter the path where you would like the LexEVS software installed. This will be referred to as LEXEVS_HOME throughout the remaining instructions.
|
| |||||||||||
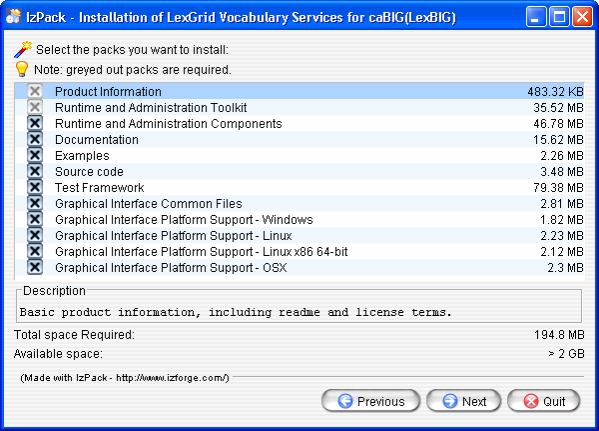
7. Select the components to be installed. The components "Product Information" and "Runtime and Administration Toolkit" are required and cannot be unchecked. The remaining components are optional. Clicking on individual components will display a description of that component. |
| |||||||||||
<ac:structured-macro ac:name="unmigrated-wiki-markup" ac:schema-version="1" ac:macro-id="ffd7631b50769541-22803258-4fa54055-9b4b9352-52086ff55c581734821b58eb"><ac:plain-text-body><![CDATA[ | 8. Once all the components have been installed, a [Finished] dialog will be displayed. Click Next. | !worddav5a05b264d45b2e226432110817440e79.png | height=400,width=599,alt="screenshot illustrating step"! | ]]></ac:plain-text-body></ac:structured-macro> | ||||||||
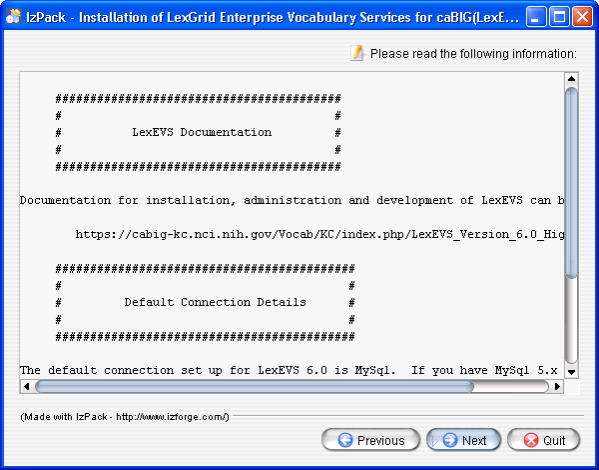
9. A dialog with some help and urgent reminders will appear. Click Next. |
| |||||||||||
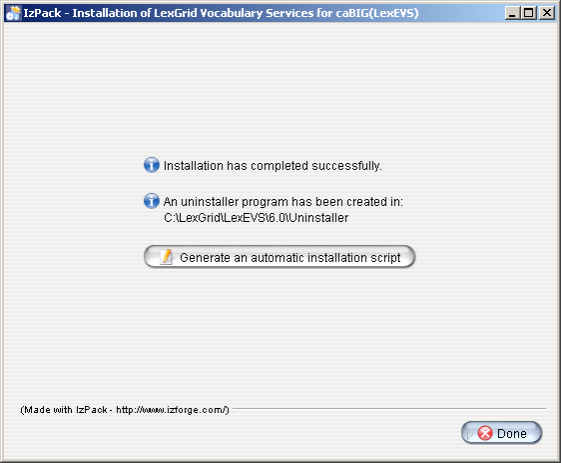
10. The last step of the installation wizard provides the ability to generate a command line installation configuration XML file that can be used on other servers. This installation script can be used to install LexEVS without the wizard that you just went through. If you want to generate this file then click the Generate an automatic installation script button. This will have no effect on the current installation. For more information look at the instructions for Installing LexEVS 6.0 Local Runtime (Optional Command Line Method). |
| |||||||||||
11. Install the latest fixes. |
|
...
Step | Action | |||||
|---|---|---|---|---|---|---|
1. Your database management system and your web container must be running. This should already be true but if you get connection errors then it is usually due to this. | Verify | |||||
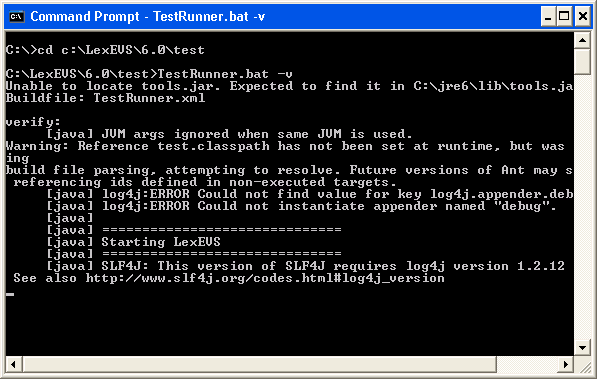
2. In a command prompt window change to the test directory:
|
| |||||
<ac:structured-macro ac:name="unmigrated-wiki-markup" ac:schema-version="1" ac:macro-id="ce790e5b155b4ea3-61ddc3fe-44c74c77-8d66a1b5-fbb124c73b0428b677be4205"><ac:plain-text-body><![CDATA[ | 3. Each test section should have [OK] printed after it. If so then that test passed. If you see [FAIL] after a test then you will need to look into the error. When it says BUILD SUCCESSFUL at the end this simply means that the test script ran to the end. | !worddav539e734466f100b915febc925967b13d.png | height=379,width=597,alt="screenshot illustrating step"! | ]]></ac:plain-text-body></ac:structured-macro> |
...
