Downloading the NBIA Data Retriever
The most convenient method of downloading is by using the NBIA Data Retriever. You must install the NBIA Data Retriever before you begin downloading. You only have to install it once to use it in future downloading sessions.
Consult the NBIA Data Retriever FAQ for more information about NBIA Data Retriever versions and usage.
| Platform | File |
|---|---|
| Windows | |
| Mac | |
| Linux (tested on CentOS) | NBIADataRetriever-4.4.1.x86_64.rpm To run this file, type the following at the command prompt: |
| Linux (tested on Ubuntu) | To run this file, type the following at the command prompt:
|
The following new and updated features are available in NBIA Data Retriever 4.3, which was released in April 2021.
April 2022
- Any version of the NBIA Data Retriever that is below the minimum version configured on the server or has an unknown version will be prompted to upgrade to the latest version.
- A resume downloading feature is now part of the command line interface (CLI) of the app.
- The policy window is read-only.
Installing the NBIA Data Retriever
To install the NBIA Data Retriever on Windows
- Download the installer package for Windows using the link above.
- Save the installer package file to your computer.
- Install the app by double-clicking the installer package file.
- Agree to the terms in the License Agreement and click Install.
- When the Setup Wizard ends, click Finish.
To install the NBIA Data Retriever on Mac
The Mac version of the NBIA Data Retriever is only available through the Mac App Store. It requires a manifest file to work. You can download the app first or create a manifest file first. If you download the app first, right-click the manifest file and select Open With NBIA Data Retriever. If you create a manifest file first, right-click it and select Open With App Store. This installs the app and then opens the manifest file in the app.
On your Mac, find the NBIA Data Retriever on the Mac App Store.
The NBIA Data Retriever is free but still requires you to log in to download it. Consider changing your macOS Password Settings so that you can download free software without having to log in separately for it.
- Click Get, then click Install App. The NBIA Data Retriever is free.
The app starts downloading to your Mac. When the download is complete, you can open a manifest file with the NBIA Data Retriever.
To install the NBIA Data Retriever on Linux (centOS or Ubuntu)
You must have the sudo privilege on your computer and a sudo password to install the NBIA Data Retriever on CentOS and Ubuntu.
- Download the installer package for centOS or Ubuntu using the links above.
- Save the installer package file to your computer.
- Open a command window and go to the location where you saved the installer.
- For a centOS system, enter the following at the command prompt:
sudo yum -v -y remove NBIADataRetriever-3.3-1.x86_64.rpm;sudo yum -y install NBIADataRetriever-3.5-1.x86_64.rpm - For an Ubuntu system, enter the following at the command prompt:
sudo -S dpkg -r nbia-data-retriever-3.3.deb;sudo -S dpkg -i nbia-data-retriever-3.5.deb
Enter the sudo password when prompted.
- For a centOS system, enter the following at the command prompt:
Downloading Images Using the NBIA Data Retriever
When you start downloading the images you have added to the data basket, NBIA provides a list of those images in a manifest file (manifest-xxx.tcia). You must have already installed the NBIA Data Retriever to open this manifest file and download the images.
You can share the manifest file with collaborators so that they can download the same images that you have added to your data basket. Collaborators must also install the NBIA Data Retriever to open the manifest file.
If you want to share a manifest file that includes links to private image collections, you must first manually install the latest NBIA Data Retriever. The latest version of the NBIA Data Retriever controls access to private collections. In addition, your collaborators must have the same access to those private collections as you do. Otherwise, your collaborators will not be able to download images from those collections.
- Search for images of interest.
- Add those images to your data basket.
- Open the My Data Basket page and click Start Download.
Click the
manifest-xxx.tciafile.
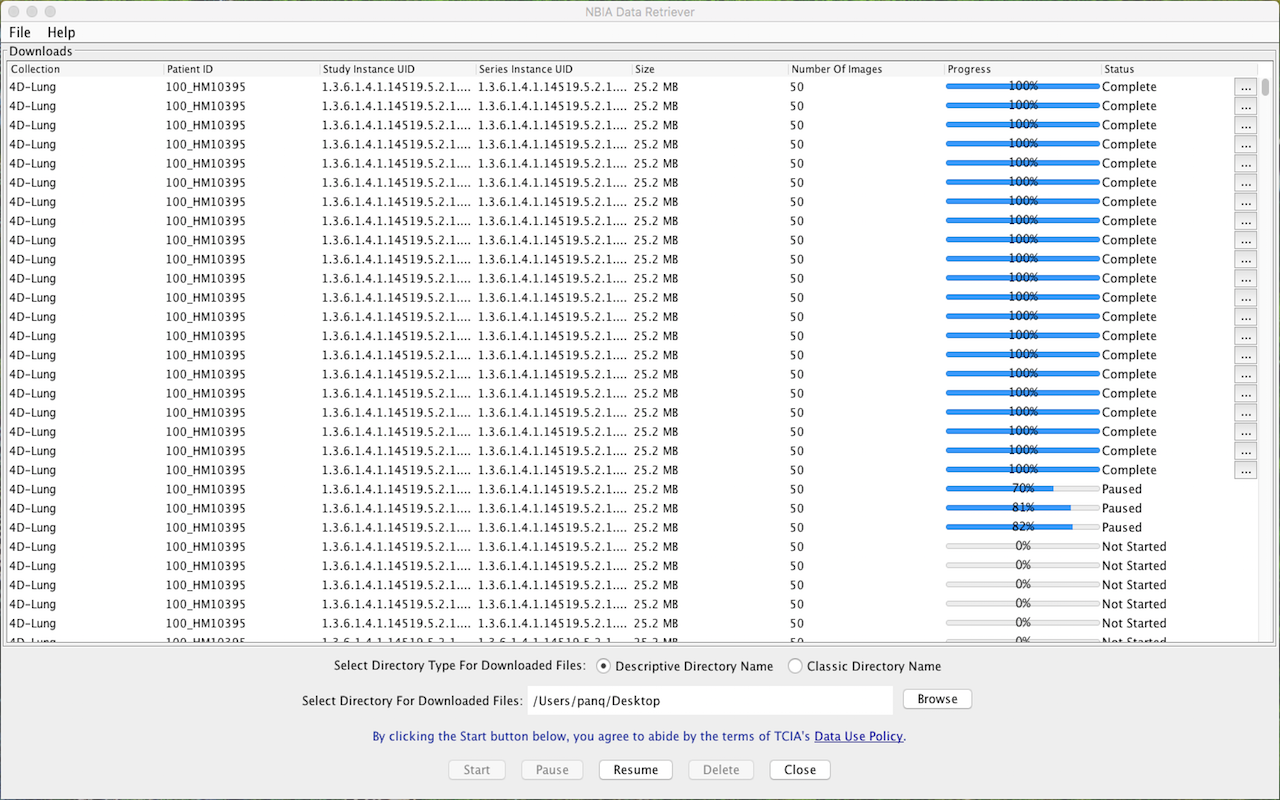
If you are only downloading public images, the NBIA Data Retriever appears, listing the items in your data basket. If you are downloading any private images, see the section about downloading private data.The NBIA Data Retriever lists all items you selected in the data basket. You can hover your mouse over the Patient ID, Study Instance, and Series Instance columns to reveal the complete corresponding IDs. You can also resize a column by selecting and dragging the column border.
If you do not want to download any of those items, select them in the Downloads table and then click Delete. When you remove an item from the Downloads table, it stays in your data basket.
Click Browse to navigate to the destination where you want the images/annotations to be downloaded.
Click Start to begin the download. You can monitor the download in the Progress column. The Status column indicates when the download for each item is complete.
At any point in the process, you can click the Pause and Resume buttons to temporarily stop and restart the process.
Note that files downloaded this way are not compressed. The downloaded files are stored in a child folder under the destination folder such as
Collection Name > Patient ID > part of Study Date + part of Study ID + part of Study Description + last 5 digits of Study Instance UID > part of Series Number + part of Series Description + last 5 digits of Series Instance UID.Network Error?
If network errors occur during large downloads, the NBIA Data Retriever retries the files the number of times that your administrator has configured.
Downloading Private Data
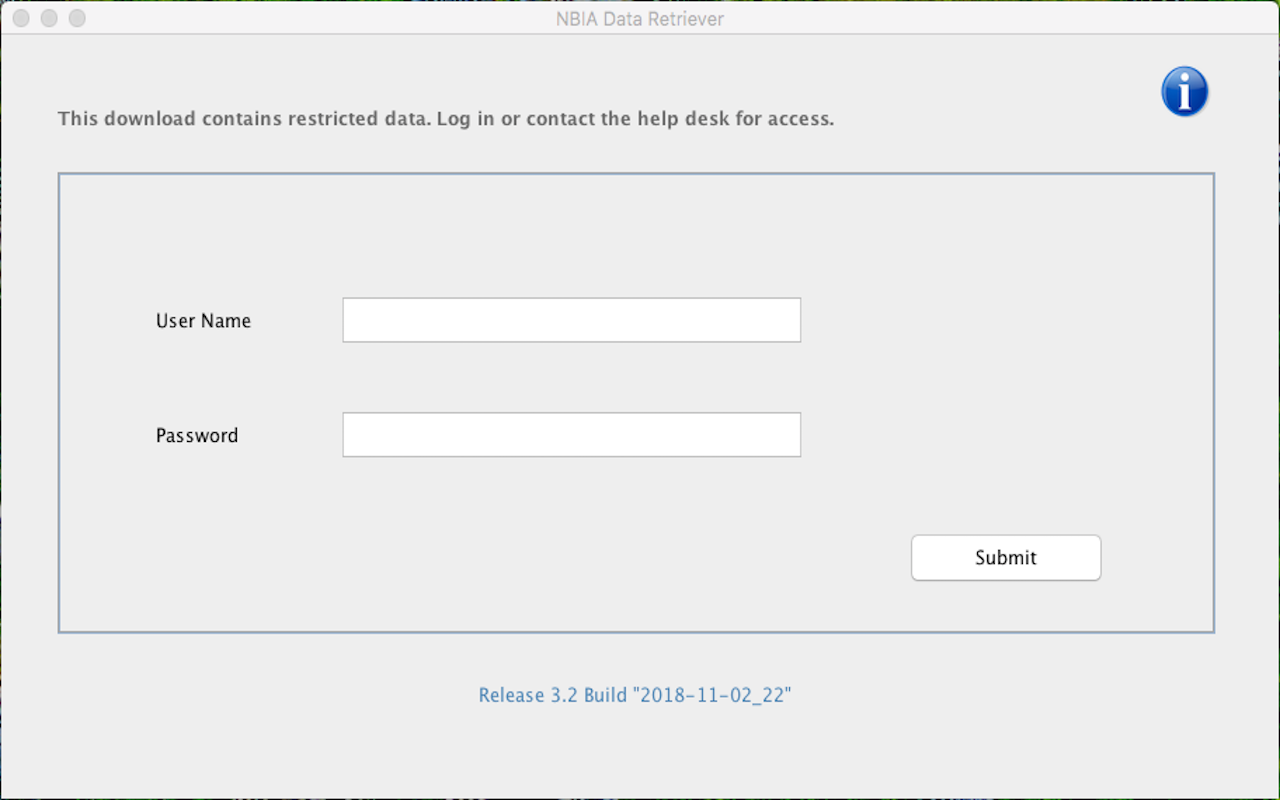
If you are downloading any private data, you are prompted to log in.
Once you log in, the NBIA Data Retriever appears.
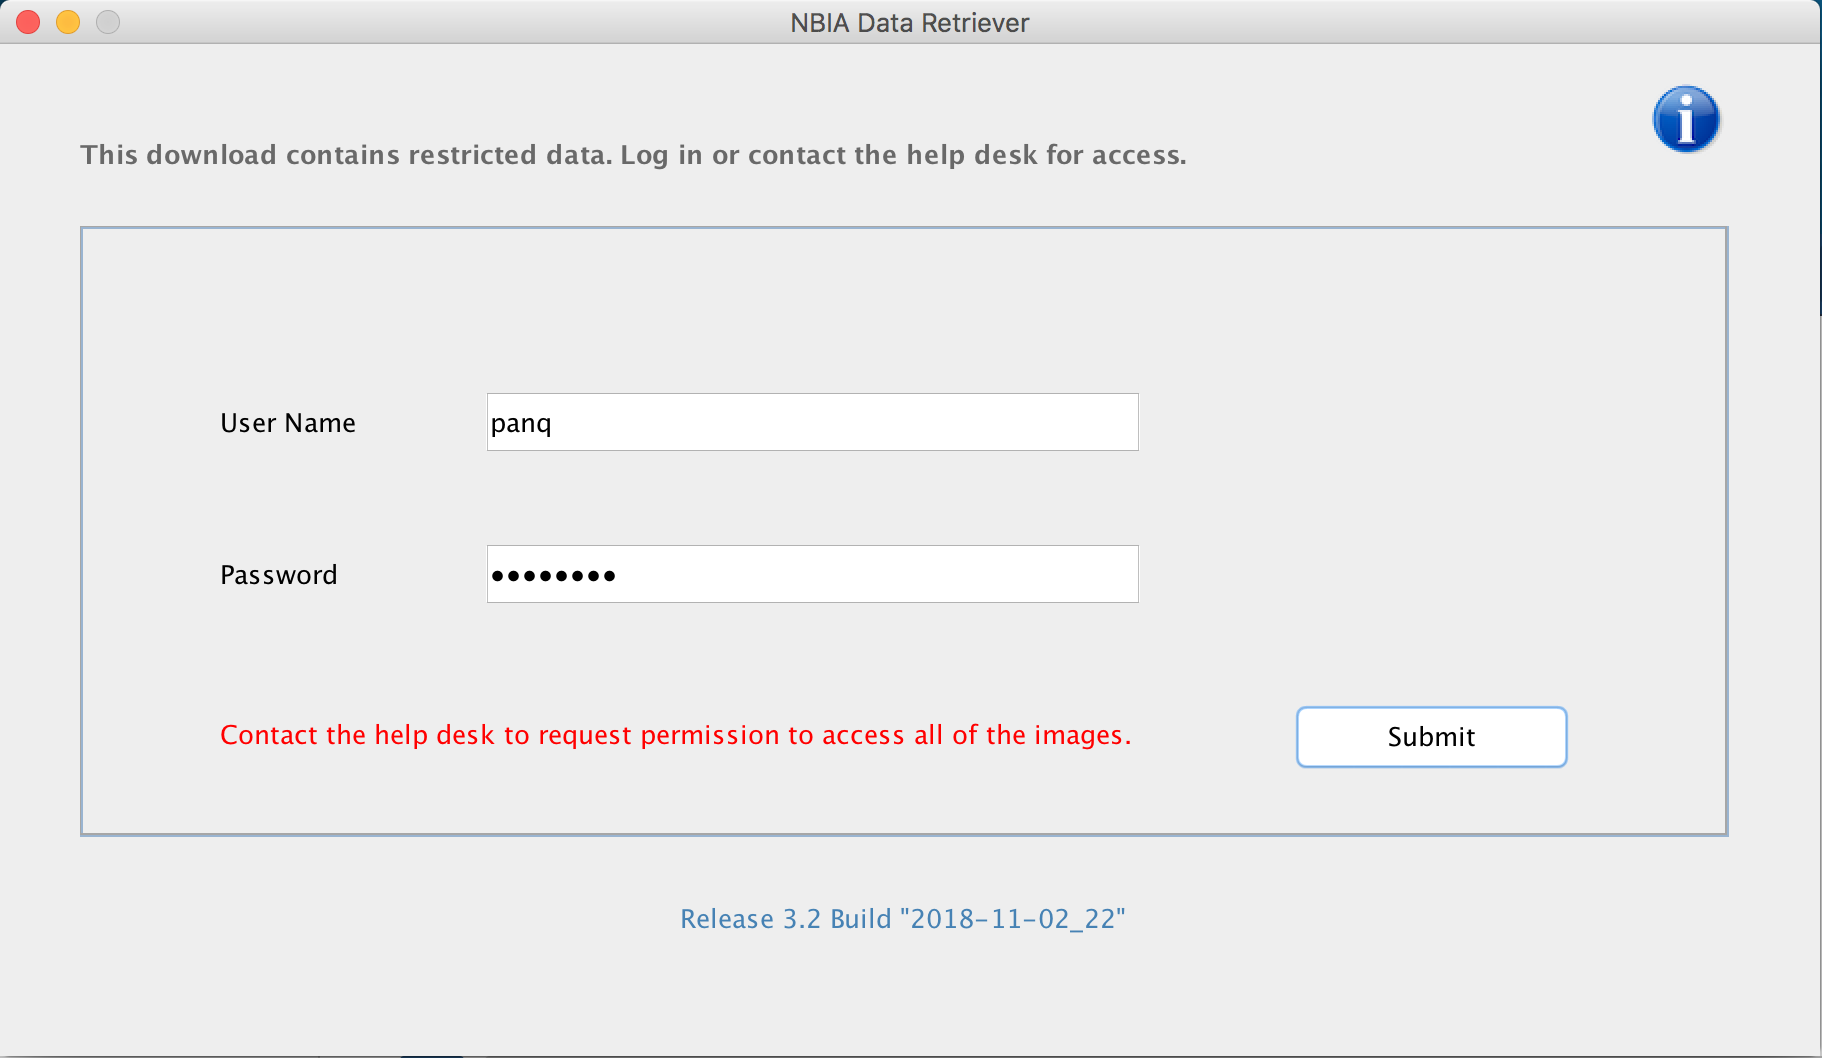
If you do not have permission to access even one of the collections/sites to which the images you have in your manifest file, you are prompted to contact the help desk to request permission to access all of the images.


