Globus is a service that enables large file transfers securely. You must have an account with Globus before you use it to upload investigation files to CSSI DCC. If you do not already have an account, you are prompted to create one when you start the upload process.
To upload files using Globus
- Begin uploading your ISA archive by creating a folder in CSSI DCC:
- Log in to the CSSI DCC Portal, as described in Logging In to the CSSI DCC Portal.
Select Investigations > Upload. The Upload ISA Archives page appears.
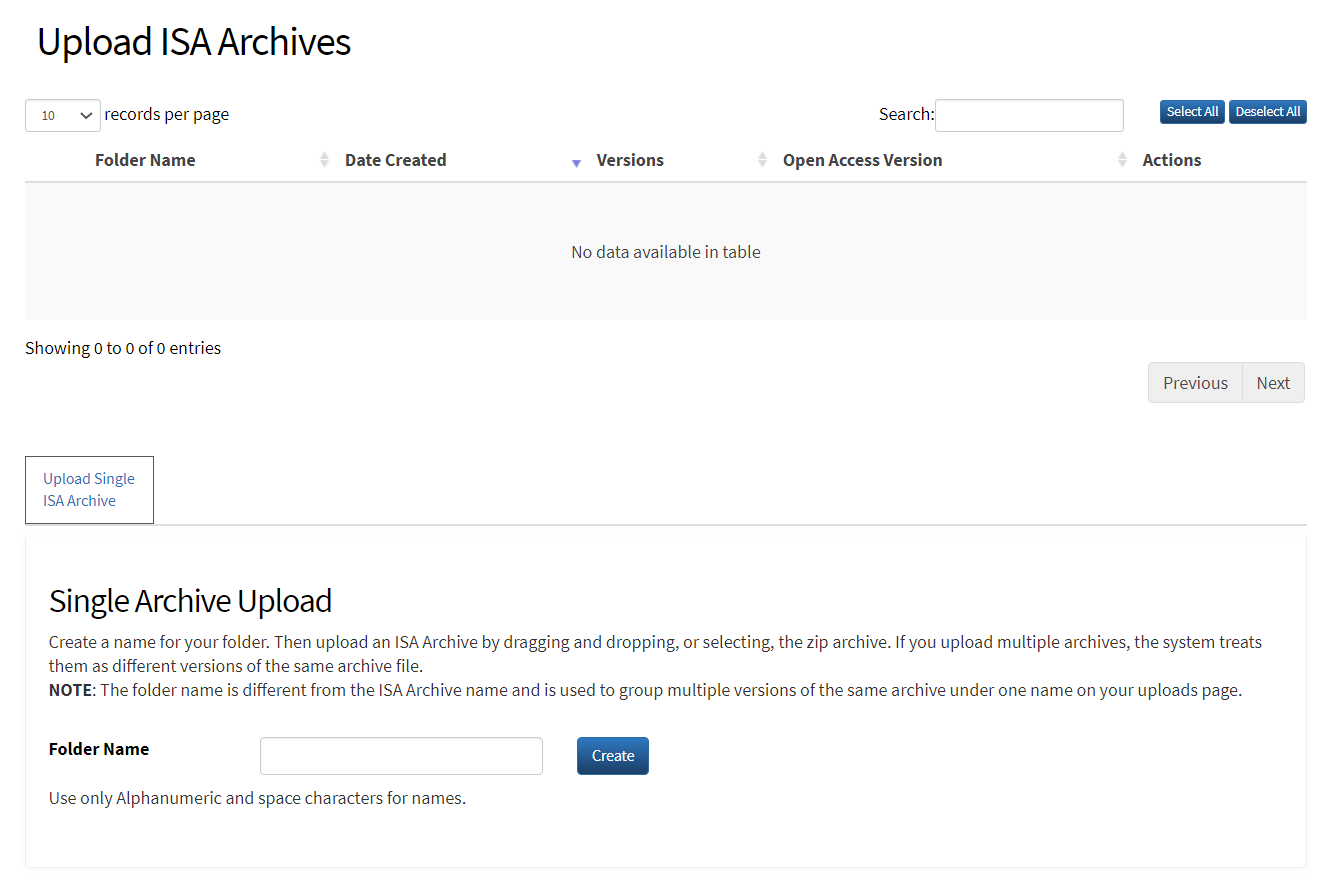
Enter a unique name for your new folder. Note that this name can differ from the title within the ISA archive.
Click Create. The File Upload section appears, with the new folder name above it.
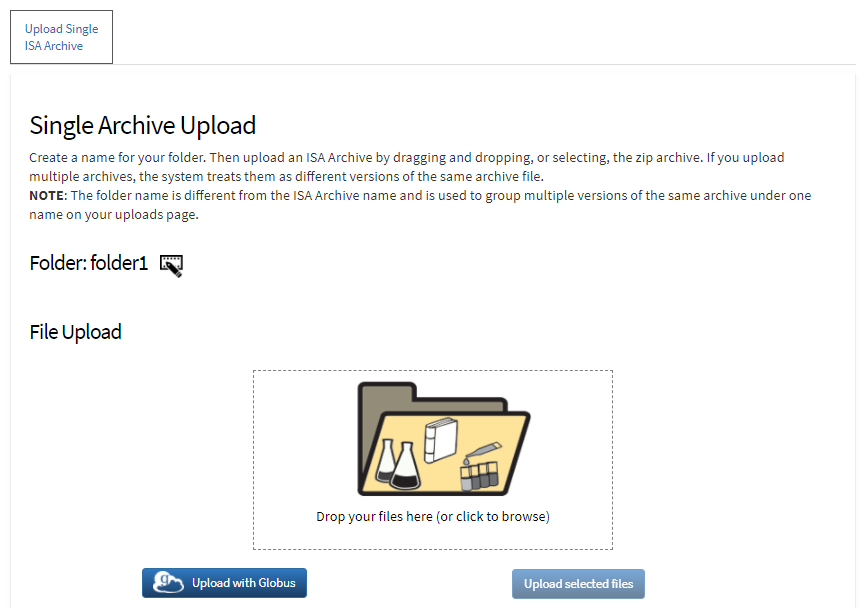
On the Upload ISA Archives page, click
 Upload with Globus. If you have not yet logged into Globus, a log in page appears.
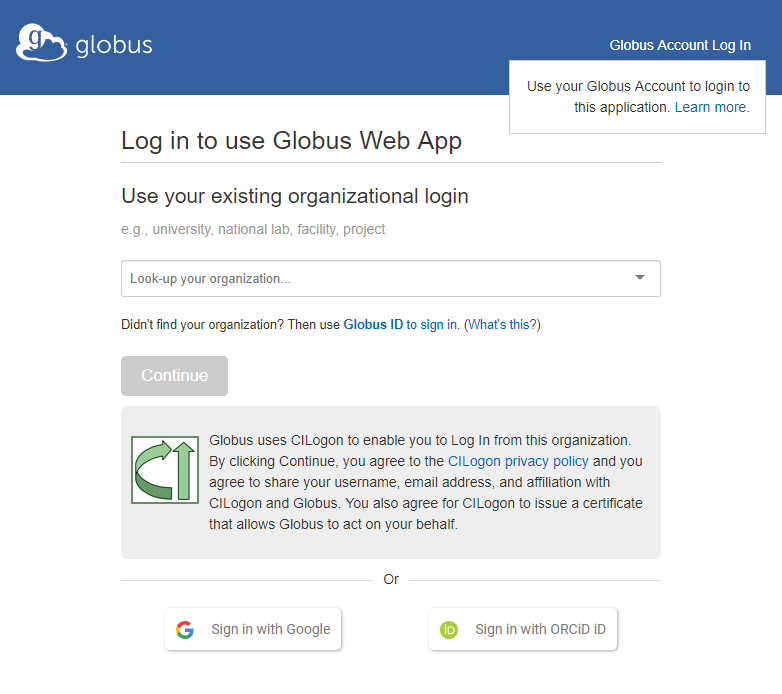
Globus Documentation and Support
For more information about using Globus, consult their documentation and/or support:
After you successfully log in, the Globus File Manager page appears. The system has already populated the destination endpoint on the right (/_upload_target/...), which is the folder you selected in DCC.
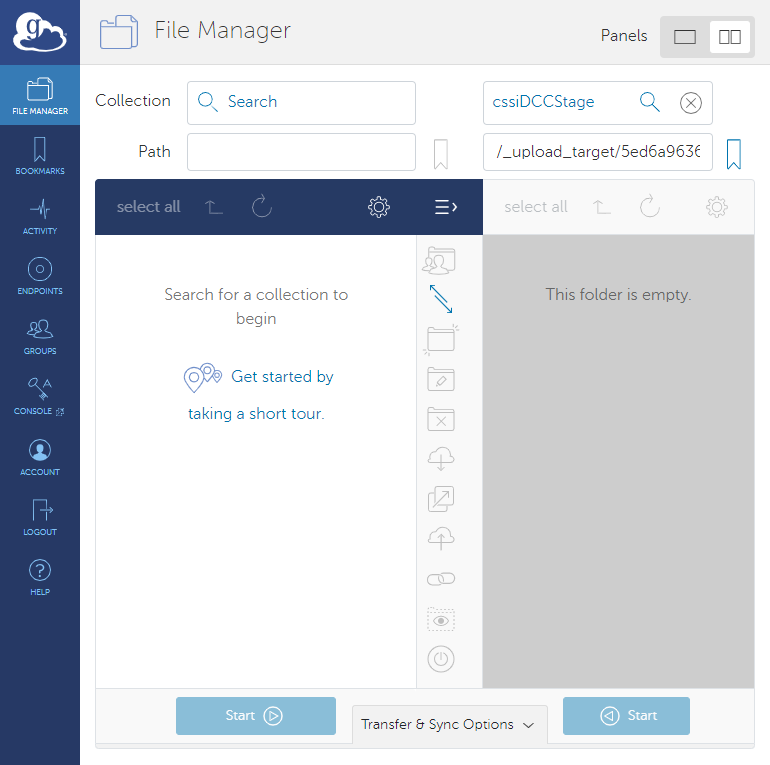
On the left, select the starting endpoint and select the file or files you want to upload. Navigate to the file or files, if necessary.
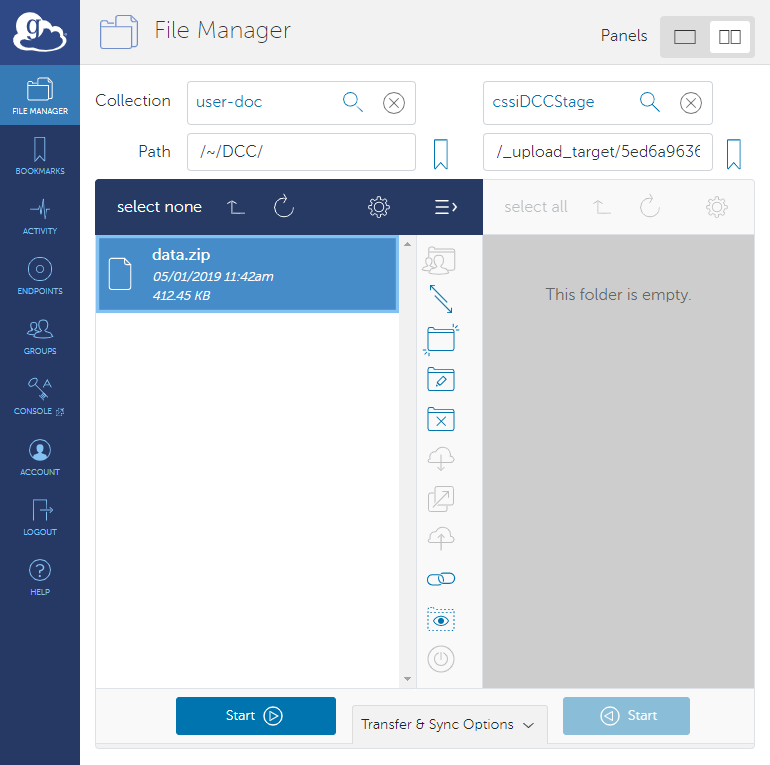
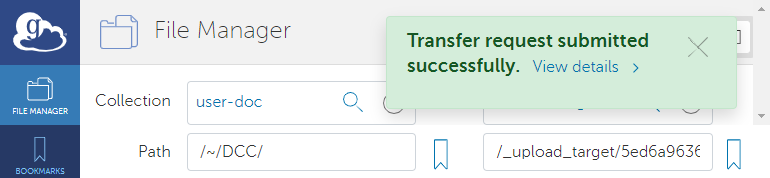
Click the Start button that points to the destination to begin the transfer request. A message briefly appears on the screen when the transfer request is submitted successfully. When the transfer succeeds, Globus sends a notification email message.
In the DCC Upload ISA Archives page, notice that a new folder appears in the list of folders at the top of the page. Click Open in the row for that folder. At this point, the new folder contains only one investigation version.
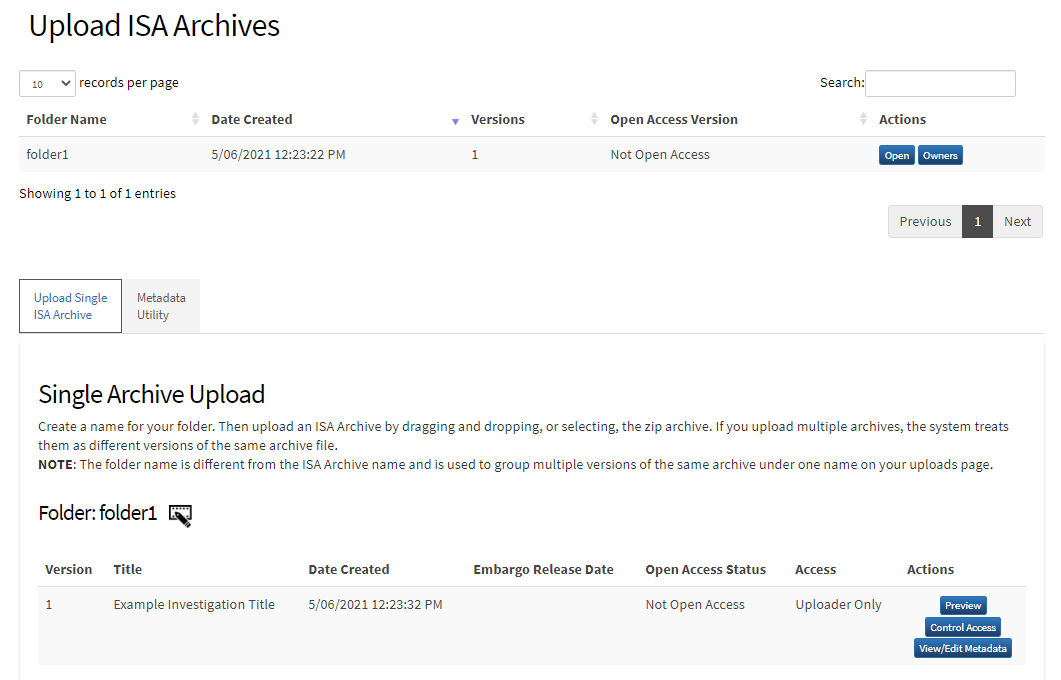
If needed now or later, to change the folder name, click the icon next to the folder name.
- If needed now or later, to edit the metadata of an investigation version, click View/Edit Metadata in the row for that version. The edit metadata page for that investigation version appears. For details, refer to Editing Investigation Metadata.
- Consider making this version available to all CSSI DCC users by requesting open access for this version. For instructions, refer to Requesting Open Access for an Investigation.
