Page History
...
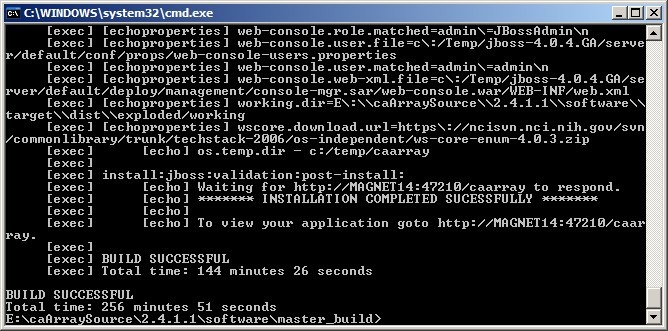
The amount of time needed for the build process to complete can vary anywhere from 30 minutes to several hours depending on your hardware configuration. For reference, on a Dell Optiplex 765 Windows XP Professional workstation with a Core 2 Quad 6600 CPU running at 2.40 Ghz and approximately 1.75 GB of memory available at the time of the build, the process took 4 hours, 16 minutes and 51 seconds. The screenshot below shows the command line window after the build process has completed successfully with the 'BUILD SUCCESSFUL' message at the bottom.
| Info | ||
|---|---|---|
| ||
The time it takes for the Ant build process to complete also depends on the speed of your Internet connection, as Ant retrieves all the JAR dependencies |
| Warning | ||
|---|---|---|
| ||
Even if the command line window shows a 'BUILD SUCCESSFUL' message at the end, it is still possible that the build process did not complete successfully. The build process launches several sub-processes, each of which must complete successfully in order for the entire build to complete successfully. If any one of these sub-processes fails, it will display its own 'BUILD FAILED' error message, but the overall build process may still display the 'BUILD SUCCESSFUL' message at the end. The screenshot below illustrates such a case in which a sub-process failed due to an incorrect version of the JDK installed; note the indented 'BUILD FAILED' error message (highlighted in red) several lines above the 'BUILD SUCCESSFUL' message (highlighted in yellow) at the bottom. |
...
Do not attempt to access the application until you see the messaging message stating that the JBoss kernel has started.
...
The login page will now load as shown in the screenshot below from a Mozilla Firefox tab:
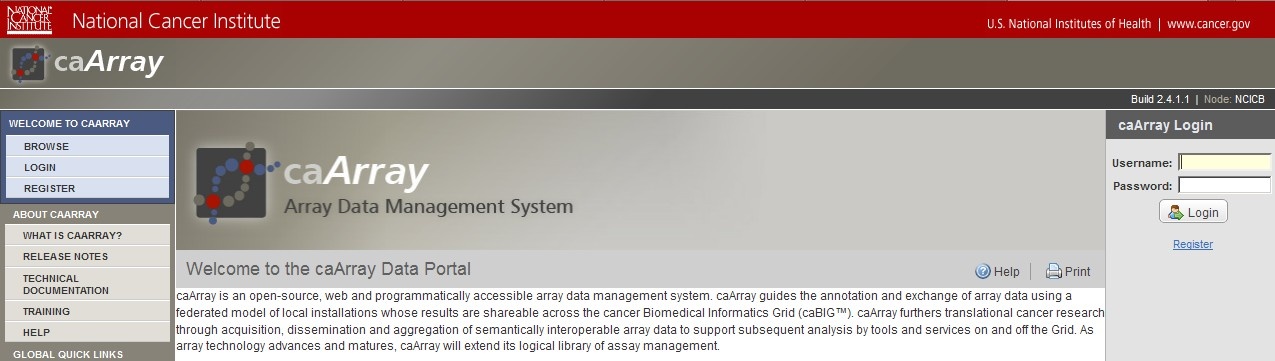
The default installation of caArray comes with several pre-configured user accounts built-in. We can log into the application via any of these accounts. In this tutorial, the one we will log in with is 'caarrayadmin', whose corresponding password is caArray2!.
Have a comment?
Please leave your comment in the caArray End User Forum.
...