Page History
...
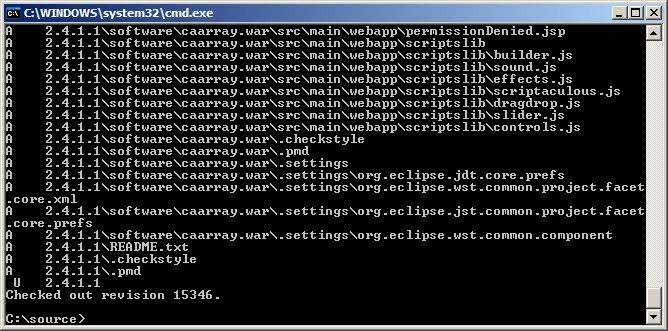
You'll know when the checkout is complete when the command-line window shows a message stating, 'Checked out revision x', where x is the revision number, as shown in the screenshot below:
Manually Creating The Requisite Database Schema
...
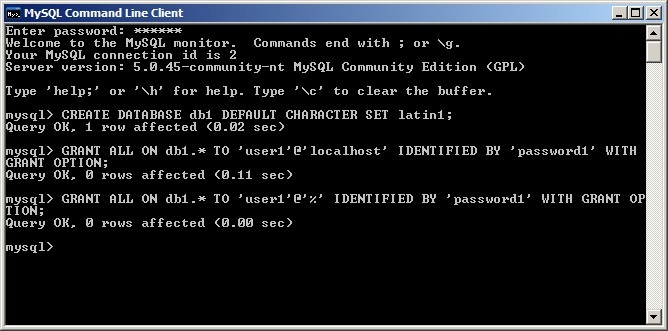
The client will respond with a confirmation that the issued queries were successful, as shown in the screenshot below:
Configuring The 'Properties' Settings Files
...
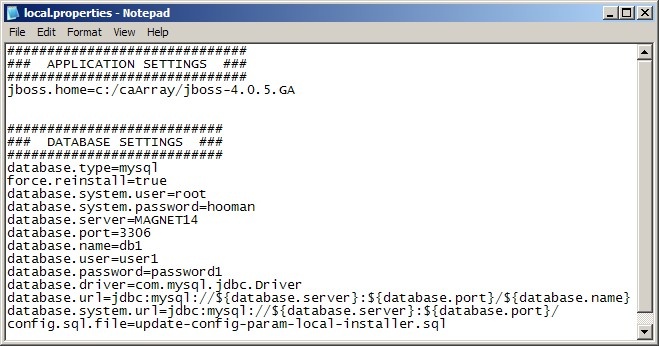
Refer to the screenshot below for an example of how the local.properties file should be configured:
| Info | ||
|---|---|---|
| ||
The install.properties file contains additional properties which pertain to grid services. These are not covered here, as configuring caArray to utilize a grid service is beyond the scope of this tutorial. For more information, please refer to this KB article:the caArray FAQ and in-depth articles at: https://wiki.nci.nih.gov/display/caArray2/caArray+FAQ+and+In-depth+Articles
|
...
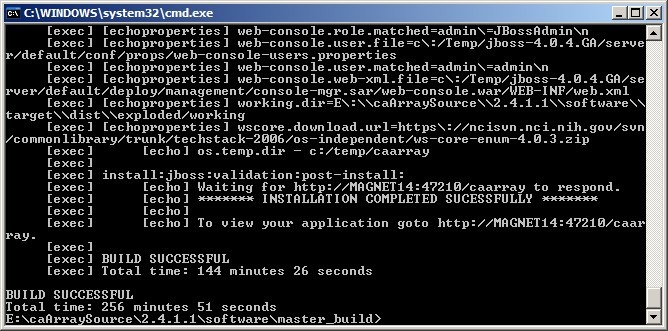
The amount of time needed for the build process to complete can vary anywhere from under 30 minutes to several hours depending on your hardware configuration. The screenshot below shows the command line window after the build process has completed successfully, with the 'BUILD SUCCESSFUL' message at the bottom.
| Info | ||
|---|---|---|
| ||
The time it takes for the Ant build process to complete also depends on the speed of your Internet connection, as Ant retrieves all the JAR dependencies |
...
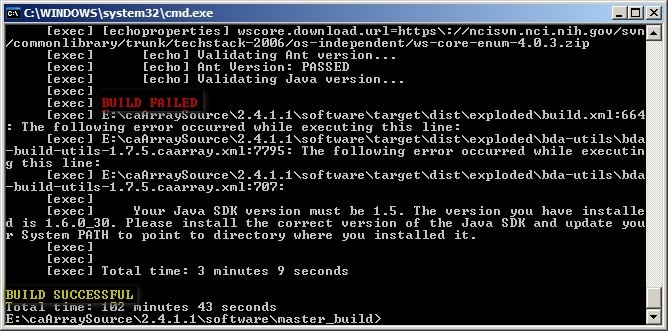
| Warning | ||
|---|---|---|
| ||
Even if the command line window shows a 'BUILD SUCCESSFUL' message at the end, it is still possible that the build process did not complete successfully. The build process launches several sub-processes, each of which must complete successfully in order for the entire build to complete successfully. If any one of these sub-processes fails, it will display its own 'BUILD FAILED' error message, but the overall build process may still display the 'BUILD SUCCESSFUL' message at the end. The screenshot below illustrates such a case in which a sub-process failed due to an incorrect version of the JDK installed; note the indented 'BUILD FAILED' error message (highlighted in red) several lines above the 'BUILD SUCCESSFUL' message (highlighted in yellow) at the bottom. |
The caArray application is now installed in the path you specified in the install.properties file via the application.base.path property. In our example, the installation path is C:\temp, whose contents are displayed in the screenshot below:
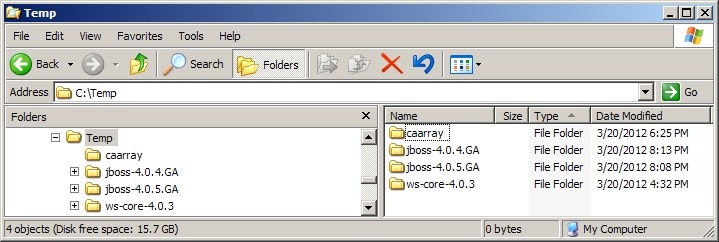
If the contents of your installation path do not match those shown above, it is likely that your build process failed.
...
where $INSTALLATION_HOME is the installation path you specified in install.properties, and run the file run.bat. A command line window will launch showing the progress of the launching of the caArray server. The launch process is not instant and may take anywhere from 20 to 120 seconds, after which the command line will display a message indicating that the JBoss MX Microkernel has started, as shown at the bottom of the screenshot below:

Do not attempt to access the application until you see the message stating that the JBoss kernel has started.
...
The login page will now load as shown in the screenshot below from a Mozilla Firefox tab:
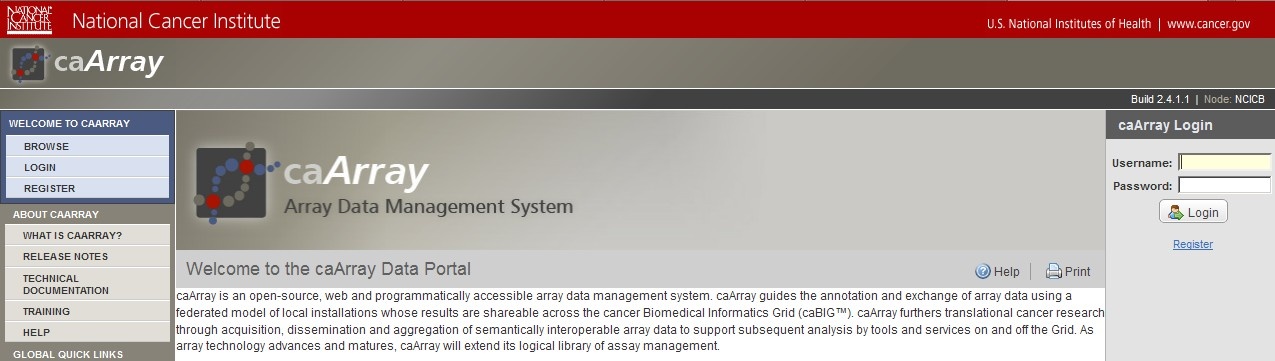
The default installation of caArray comes with several pre-configured user accounts built-in. We can log into the application via any of these accounts. In this tutorial, the one we will log in with is 'caarrayadmin', whose corresponding password is 'caArray2!'. You can enter this username and password into their respective fields under the caArray Login panel at the right of the login page, then click on the 'Login' button beneath to log into the application, as shown in the screenshot below:

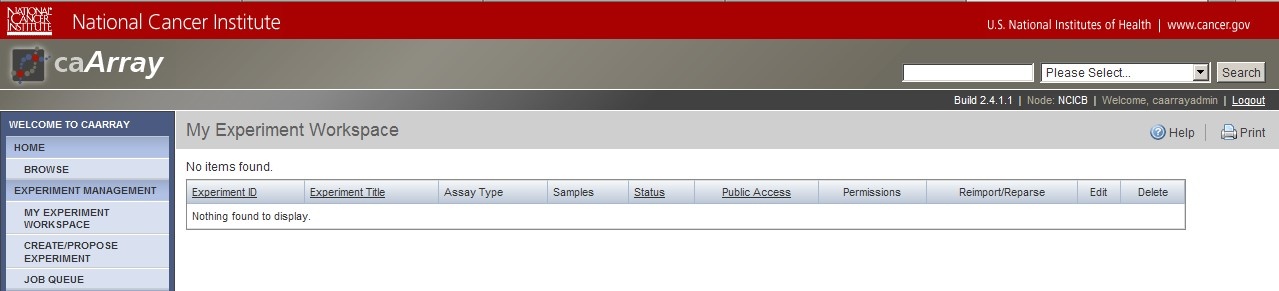
You will now be directed to the caArray homepage, which shows the 'My Experiment Workspace', as shown in the screenshot below. Congratulations on successfully building and logging into caArray!
| Info | ||
|---|---|---|
| ||
caArray comes with a user provisioning tool (UPT) that allows you to modify the built-in accounts as well as to create additional accounts and assign them varying privileges and access levels. For more information on how to install and use UPT, please visit the UPT user guide at https://gforge.nci.nih.gov/frs/download.php/7770/caCORE_CSM_v421_ProgrammersGuide.pdf. |
...