 |
Page History
...
Step | Action | |||||||||||
|---|---|---|---|---|---|---|---|---|---|---|---|---|
1. Download the latest version of the Local Runtime GUI install package from the right. The location you have chosen to save this on your computer will be referred to as the
|
| |||||||||||
2. Using a file explorer, navigate to the
Then enter the command to begin the installation wizard:
...where
|
| |||||||||||
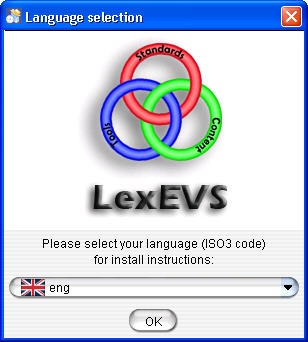
3. Click the OK button to begin the installation.
|
| |||||||||||
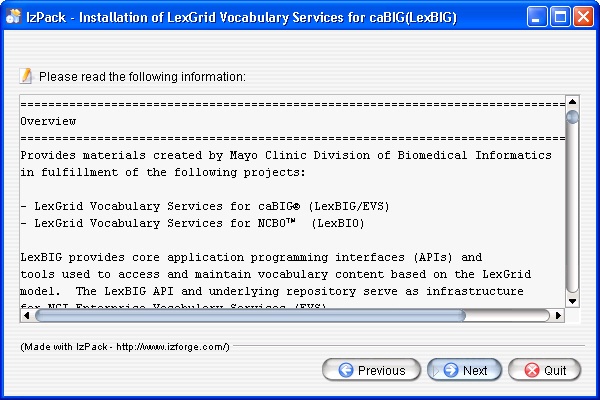
4. After the initial welcome screen, the release notes for the LexEVS distribution are displayed. Once you have read through the release notes click the Next button. |
| |||||||||||
5. Review the license agreement of the LexEVS software. Select "I accept the terms of this license agreement." and click Next. |
| |||||||||||
6. Enter the path where you would like the LexEVS software installed. This will be referred to as
Click the Next button.
|
| |||||||||||
7. Select the components to be installed. The components "Product Information" and "Runtime and Administration Toolkit" are required and cannot be unchecked. The remaining components are optional. Clicking on individual components will display a description of that component. |
| |||||||||||
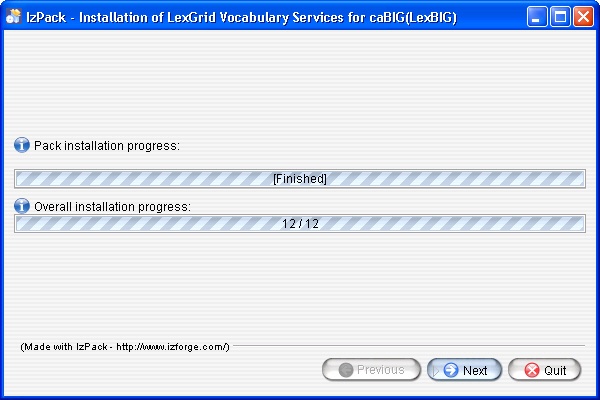
8. Once all the components have been installed, a Finished dialog box will be displayed. Click Next. |
| |||||||||||
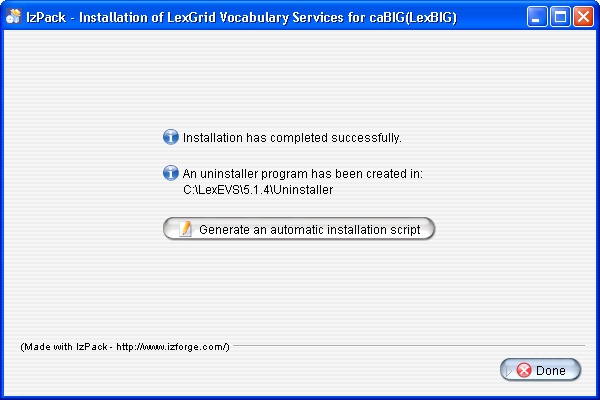
9. The last step of the installation wizard provides the ability to generate a command line installation configuration XML file that can be used on other servers. This installation script can be used to install LexEVS without the wizard that you just went through. If you want to generate this file then click the Generate an automatic installation script button. This will have no effect on the current installation. For more information look at the optional #Downloading and Installing the LexEVS Local Runtime. |
|
...


