Page History
...
- Click the Explorer tab.
- Click the AIM Data Service 2.0 tab.
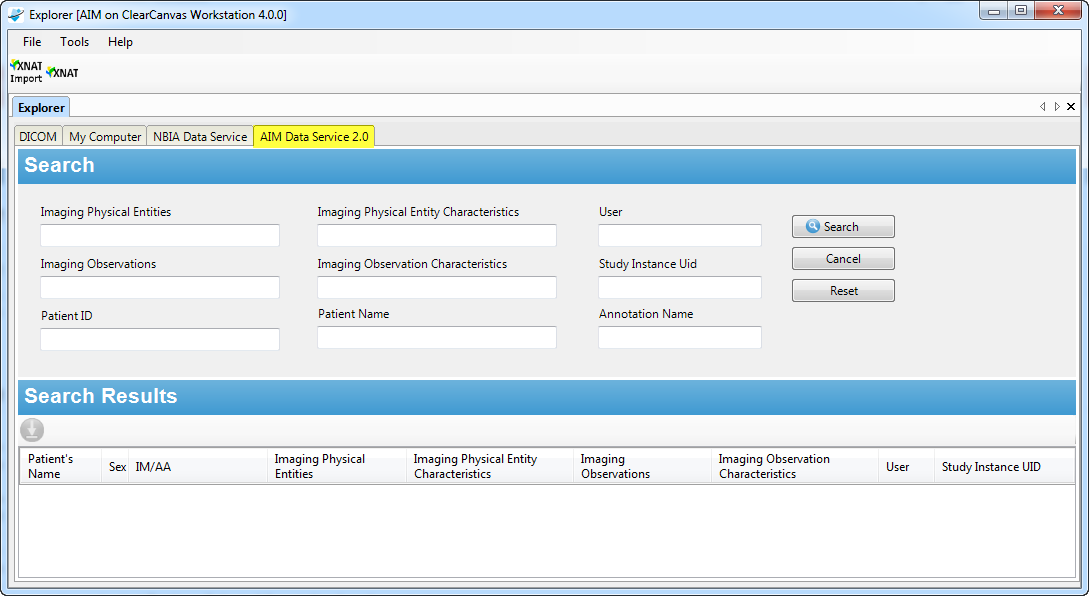
- Enter search criteria in the search fields to narrow your search, or leave them blank to retrieve a list of all annotations.
- Click Search.
The Log In dialog box appears.
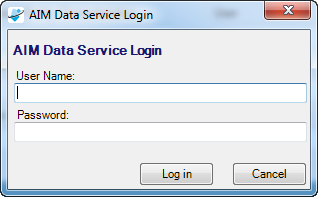
- Enter your user name and password for the AIM Data Service.
- Click Log in. The search results appear in the results pane at the bottom of the tab.
- Select an annotation from the list of results.
- To download and import the annotation into the workstation, do one of the following:
- Click the Retrieve Selected Annotation button, or
- Right-click a selected annotation and select Retrieve Selected Annotation from the context menu.
...
Creating DICOM Segmentations (new in 4.5)
- Segmentation setting in Tools -> Options
There are two default XML files, AnatomicRegionAndModifier.xml and SegmentationCategoryTypeModifier.xml. They are used to describe DICOM segmentation created by a user and based on DICOM standard. A user may choose to create and import his/her own descriptions for anatomic regions and segmentation categories. In such a case, the user must follow XML schemas designed for anatomic region (https://cbiit-download.nci.nih.gov/aim/releases/Segmentation/AnatomicRegionAndModifier.xsd) and segmentation category (https://cbiit-download.nci.nih.gov/aim/releases/Segmentation/SegmentationCategoryTypeModifier.xsd). - DICOM segmentation is available on the toolbar.
- Use freehand tool,, to manually draw a segmentation object. After each drawing, users must assign a name to each drawing. When creating a DICOM segmentation object, there will be many drawings draw on multiple images of the same thing. This will create DICOM segmentation volume. Thus, these drawings must have the same name on the entire volume.
- When you create a segmentation on an image, the information about the image and frame number will display in the image list. It is used to inform workstation users about a set of images that form a DICOM segmentation volume.
- Users must select appropriate values in “Segmentation Properties:” section before a DICOM segmentation can be created.
You need to confirm that you want to create a DICOM segmentation. Once a segmentation is crated, user will not be able to modify or delete a segmentation. - Once a segmentation has been created, opacity level can be adjusted via the opacity slider bar.
- When a user create more than one DICOM segmentation, each DICOM segmentation with the same name is grouped together. A name of DICOM segmentation will be added to the “Name:” drop-down box. Each DICOM segmentation requires “Segmentation Properties:” section to be appropriately filled before a DICOM segmentation can be crated, See step 5.
- For a study with DICOM segmentation objects, the workstation will automatically display DICOM segmentations on corresponding images.
...
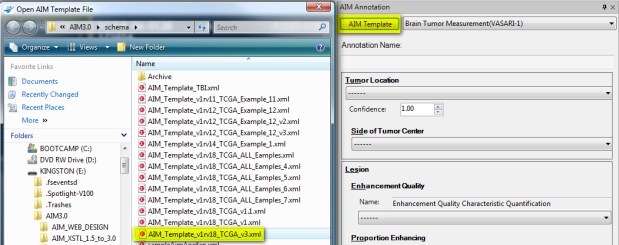
Figure 7. Importing an AIM Template
Locating Missing Answer Choices
...
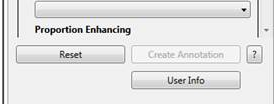
You can locate missing answer choices from a question after you import an AIM template. Click on the question mark icon to find out which questions do not have an answer.
Enforcing Markup Requirements
...
Before you can add an annotation to an image, AIM on ClearCanvas Workstation verifies that the annotation you have drawn complies with the rules in the AIM template. AIM on ClearCanvas Workstation verifies new annotations according to the following rules:
...