Page History
...
- Begin uploading your ISA archive by creating a folder in CSSI DCC:
- Log in to the CSSI DCC Portal, as described in Logging In to the CSSI DCC Portal.
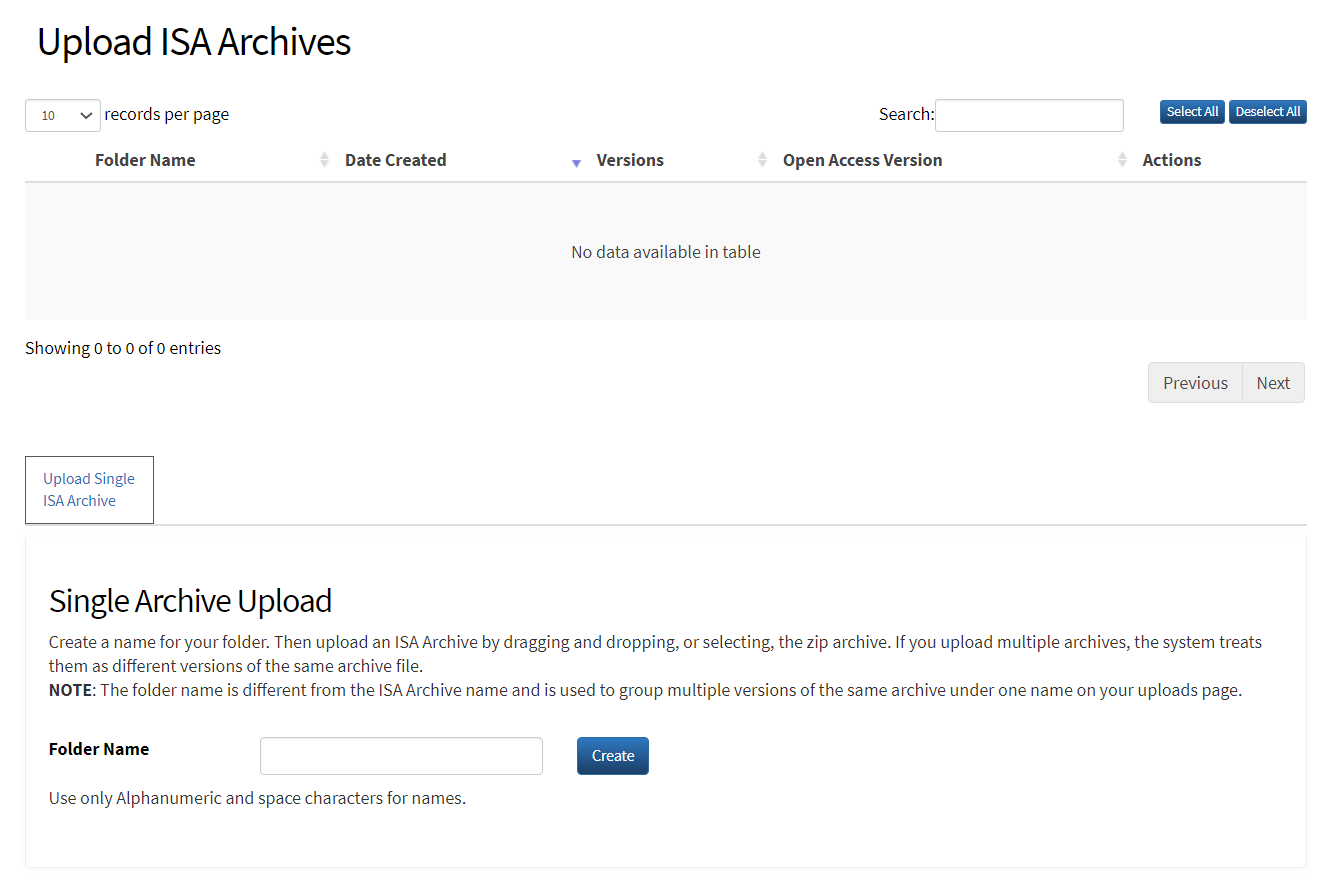
Select Investigations > Upload. The Upload ISA Archives page appears.
Show If group GP-CFW_DES_DEV Info icon false title Note Visible to GP-CFW_DES_DEV Users Only If your user account has a role with the Upload Files, Group Owner, and Manage Multi Upload permissions, additional tabs are visible on this page. This section describes how to use only the Upload Single ISA Archive tabs. For instructions on using the remaining tabs, refer to Using DCC as a Multi-uploader.
Enter a unique name for your new folder. Note that this name can differ from the title within the ISA archive.
Click Create. The folder name you specified appears in the list of folders at the top of the page, and the File Upload section appears, with the new folder name above it.
If the File Upload section of the page is not visible, click Open in the row for the folder of interest to show it.
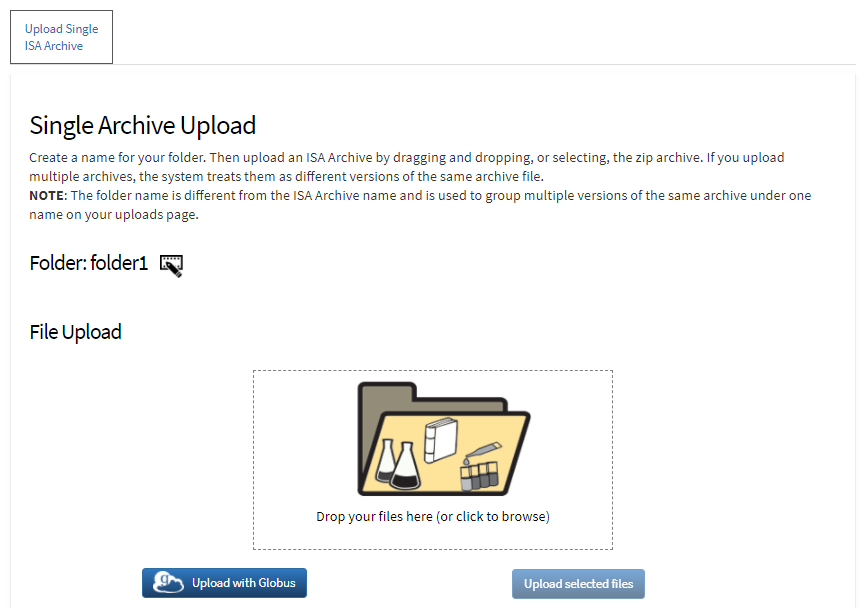
On the Upload ISA Archives page, click
 Upload with Globus. If you have not yet logged into Globus, a log in page appears.
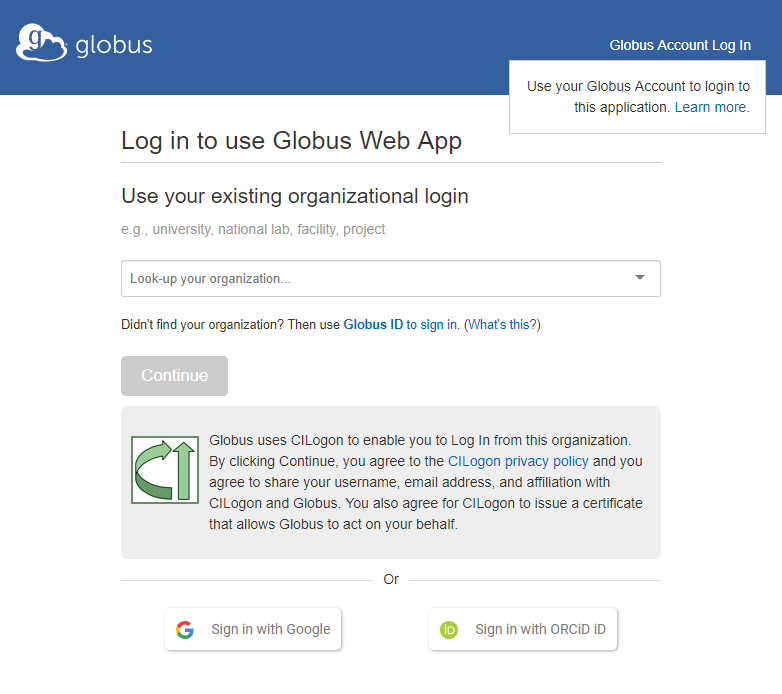
Info title Globus Documentation and Support For more information about using Globus, consult their documentation and/or support:
- https://docs.globus.org/
Multiexcerpt include MultiExcerptName ExitDisclaimer nopanel true PageWithExcerpt wikicontent:Exit Disclaimer to Include - https://support.globus.org/
Multiexcerpt include MultiExcerptName ExitDisclaimer nopanel true PageWithExcerpt wikicontent:Exit Disclaimer to Include
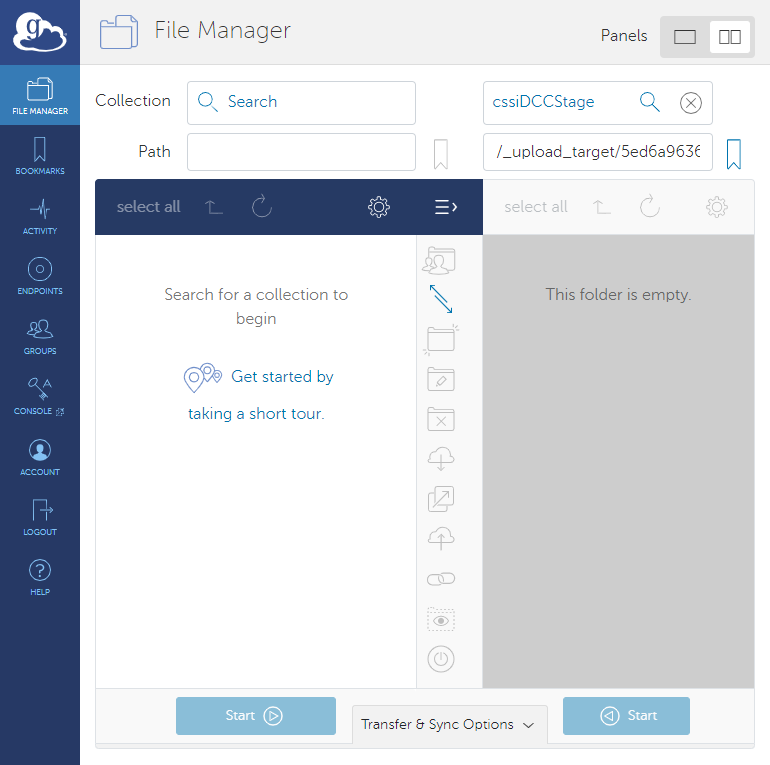
After you successfully log in, the Globus File Manager page appears. The system has already populated the destination endpoint on the right (/_upload_target/...), which is the folder you selected in DCC.
- https://docs.globus.org/
On the left, select the starting endpoint and select the file or files you want to upload. Navigate to the file or files, if necessary.
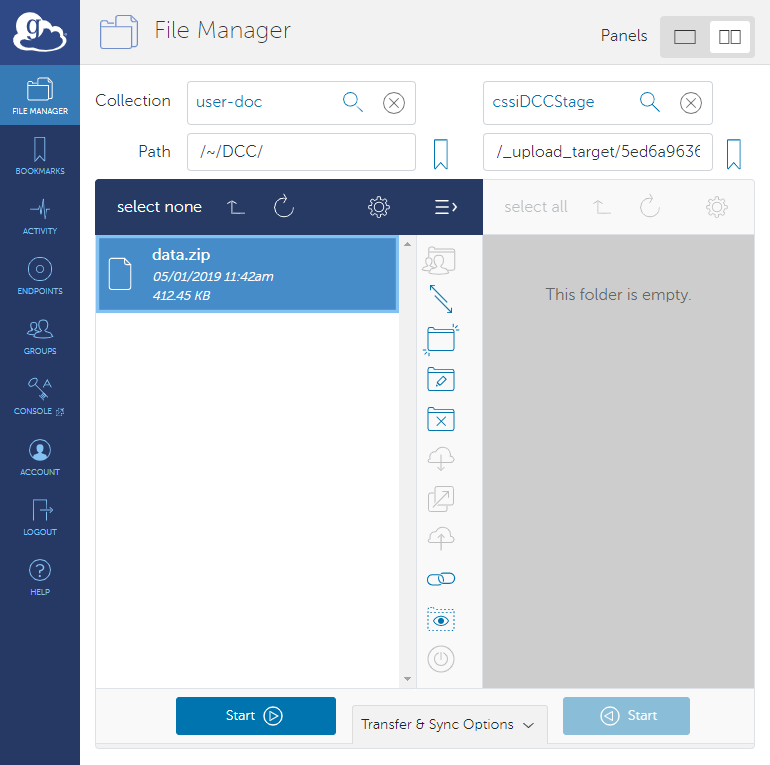
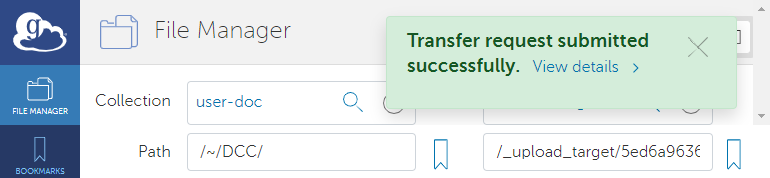
Click the Start button that points to the destination to begin the transfer request. A message briefly appears on the screen when the transfer request is submitted successfully. When the transfer succeeds, Globus sends a notification email message.
In the DCC Upload ISA Archives page, notice that a new folder appears in the list of folders at the top of the page. Click Open in the row for that folder. At this point, the new folder contains only one investigation version.
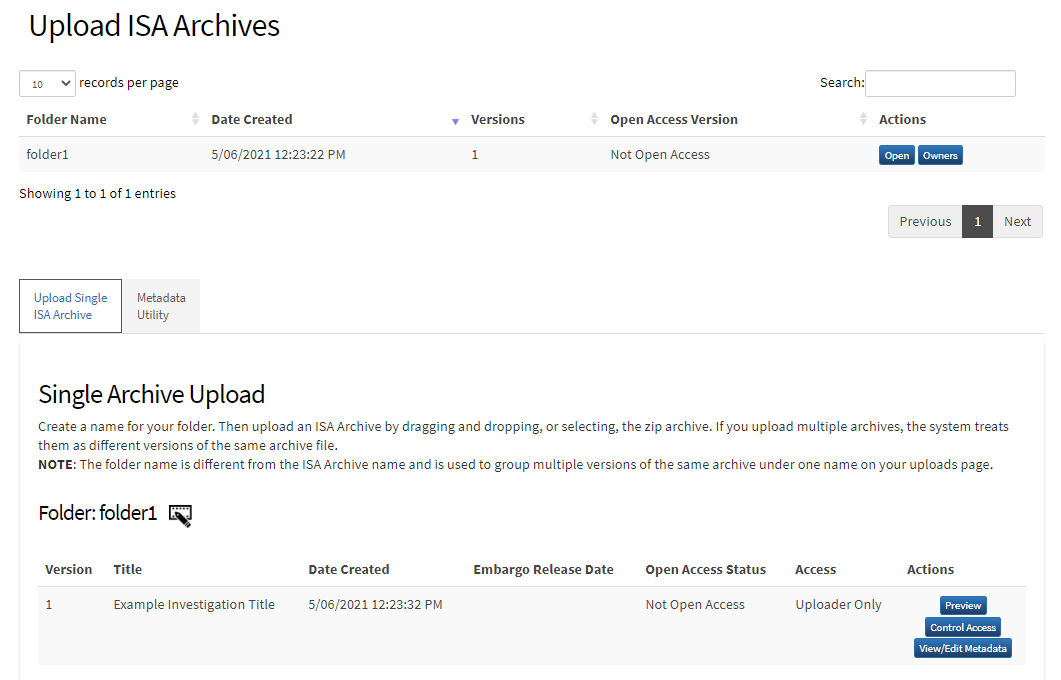
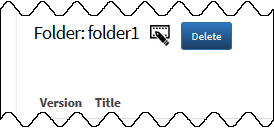
If needed now or later, to change the folder name, click the icon next to the folder name.
Show If group GP-CFW_DES_DEV Info icon false title Note Visible to GP-CFW_DES_DEV Users Only If your user account has a role with the Upload Files permission and Manage Investigations permission, a Delete button is available next to the edit icon. This button performs a "soft" delete of the investigation folder, which means that the data can be recovered, if necessary. (The concept known as a folder in the DCC portal home is known as a project in the Admin Dashboard.) For information, refer to Tentatively Deleting an Investigation Project.
- If needed now or later, to edit the metadata of an investigation version, click View/Edit Metadata in the row for that version. The edit metadata page for that investigation version appears. For details, refer to Editing Investigation Metadata.
- Consider making this version available to all CSSI DCC users by requesting open access for this version. For instructions, refer to Requesting Open Access for an Investigation.
...