Page History
propswith
| Scrollbar | ||
|---|---|---|
|
| Page info | ||||
|---|---|---|---|---|
|
| Section | ||||||||||||||||||||||||
|---|---|---|---|---|---|---|---|---|---|---|---|---|---|---|---|---|---|---|---|---|---|---|---|---|
|
Introduction
This section provides requirements, instructions, and troubleshooting information for installing a LexEVS Local Runtime.
Preliminary considerations
| Note | ||
|---|---|---|
| ||
LexEVS has been tested with the operating systems and hardware specified in the supported platforms. While LexEVS is expected to run on many variations of hardware and software similar to the test platforms, results cannot be guaranteed. Before you begin you should check to make sure that your platform will support the software. |
- There are a number of prerequisite software products that you must install to run a LexEVS Local Runtime on your platform. You must make sure that you have the proper software and versions, depending on which LexEVS environment you are installing. Do this now, for the Local Runtime designated prerequisite software, before continuing to the install steps.
- As an option you may consider the command line install of a LexEVS Local Runtime for putting all the necessary files in place based on a pre-decided list of components to include. As noted in the last step of the GUI Installer for LexEVS Local Runtime, you can save a file that represents the choices you have made during the GUI install. This file can be used as-is or be edited and then fed into an install on another server. Follow the steps for installing a LexEVS Local Runtime using the optional command line method if you should choose this route.
- Complete the Downloading and Installing the LexEVS Local Runtime steps.
Once you have completed the prerequisite software install, the Local Runtime environment install steps, and the verification test as described in this guide then you should be ready to start programming using the API to meet the needs of your application. Not counting prerequisite software products the installation and verification should not take more than 60 minutes.
LexEVS QuickStart Install
Follow this link to get things up and running quickly. This is not recommended for a production environment.
LexEVS 6.0 x Local Runtime Quick Start
Downloading and Installing the LexEVS Local Runtime
Step | Action | |||||||||
|---|---|---|---|---|---|---|---|---|---|---|
1. Download the latest version of the Local Runtime GUI install package from the right. The location you have chosen to save this on your computer will be referred to as the SAVE_DIRECTORY. Examples will use scratch as the directory.
|
- GUI Installer for LexEVS Local Runtime
A single download package with everything you need to install the Local Runtime in a graphical user environment.
LexEVS 6.0 Installer - LexEVS Local Runtime Fixes
Fixes to be downloaded and installed after the initial install:
6.0.1 JAR file Copy this file into the {LEXEVS_HOME}/runtime directory. See the ReadMe file for the latest information for about this release. - LexEVS Local Runtime Release Notes
An optional download if you want to see the resolved issues and enhancements provided in the primary release. Readmes will contain information for fix releases. [ LexEVS 6.0 Release Notes
https://gforge.nci.nih.gov/docman/view.php/491/23714/lexevsapi60_notes.html]
|
An XML file allowing the user to install in a command line environment. This file can be generated by the GUI installer or downloaded here.
LexEVS 6.0 Command Line Install XML
A seperate archive in Java jar format including the LexEVS classes only. The core runtime, LexEVS API, loaders, and administrative utilities are included. Ships with the GUI installer above.
LexEVS 6.0 Runtime Jar
Includes third party, open source code required by the LexEVS API. These ship with the GUI installer above.
LexEVS 6.0 Runtime dependencies
2. Using a file explorer, navigate to the SAVE_DIRECTORY. Double Click on the downloaded JAR file. This will launch the install wizard.
|
| ||||||||||
3. Click the OK button to begin the installation.
|
| ||||||||||
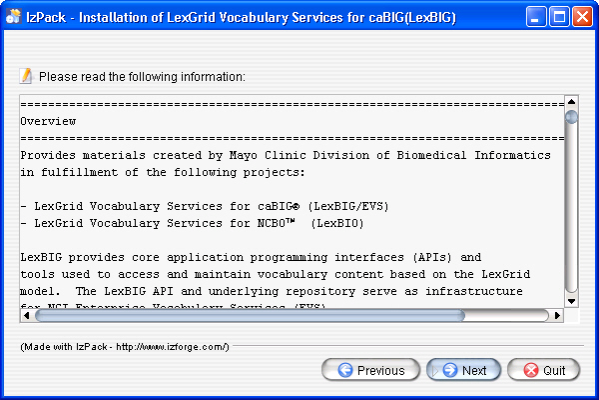
4. After the initial welcome screen, the release notes for the LexEVS distribution are displayed. Once you have read through the release notes click the Next button. |
| ||||||||||
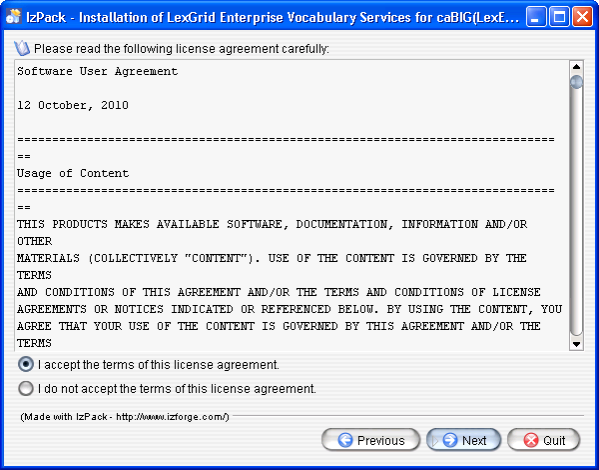
5. Review the license agreement of the LexEVS software. Select "I accept the terms of this license agreement." and click Next. |
| ||||||||||
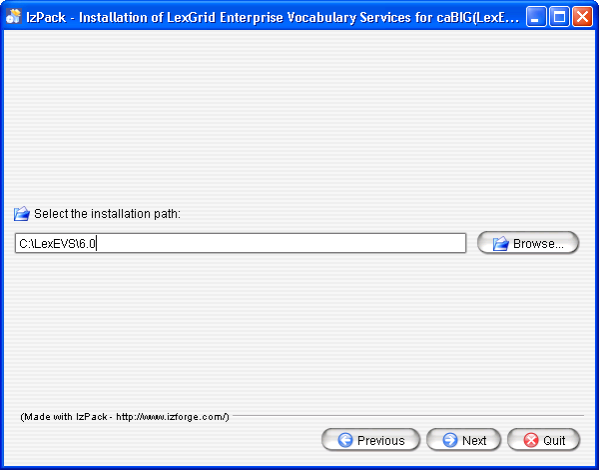
6. Enter the path where you would like the LexEVS software installed. This will be referred to as LEXEVS_HOME throughout the remaining instructions.
|
| ||||||||||
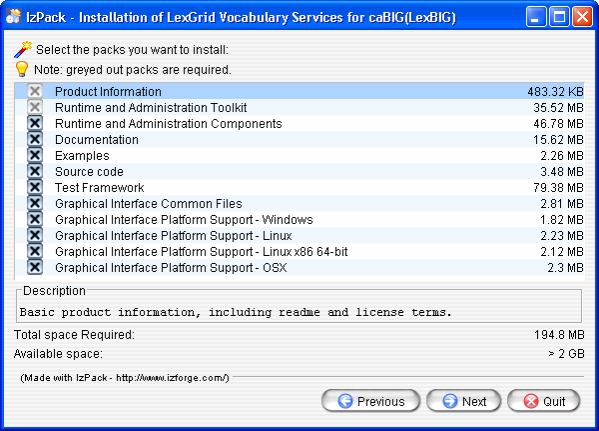
7. Select the components to be installed. The components "Product Information" and "Runtime and Administration Toolkit" are required and cannot be unchecked. The remaining components are optional. Clicking on individual components will display a description of that component. |
|
<ac:structured-macro ac:name="unmigrated-wiki-markup" ac:schema-version="1" ac:macro-id="27069de5-b4df-4fef-b95f-a18154059fac"><ac:plain-text-body><![CDATA[
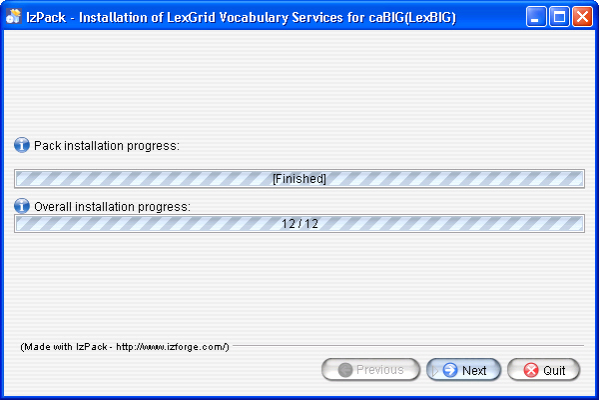
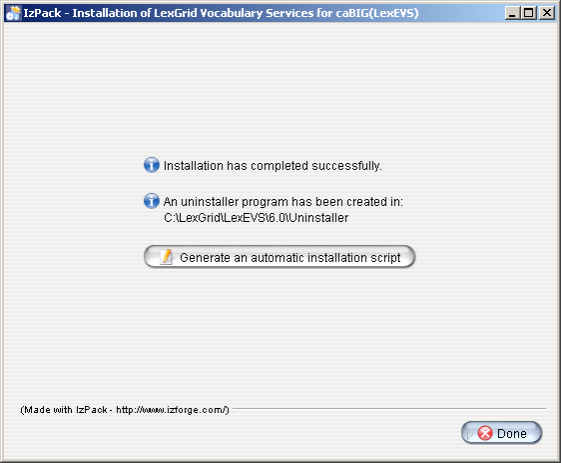
8. Once all the components have been installed, a [Finished] dialog will be displayed. Click Next. |
!worddav5a05b264d45b2e226432110817440e79.png
height=400,width=599,alt="screenshot illustrating step"!
| |
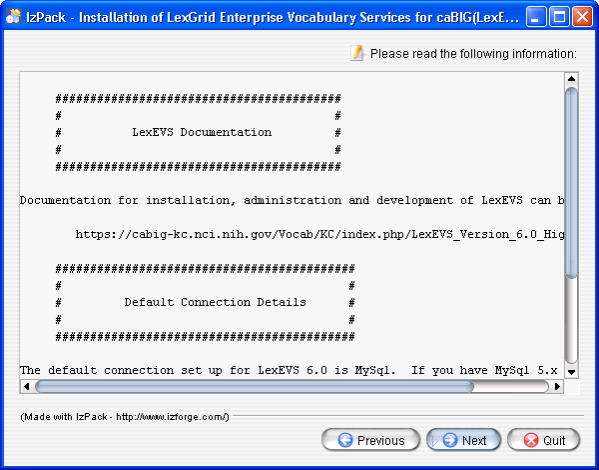
9. A dialog with some help and urgent reminders will appear. Click Next. |
|
10. The last step of the installation wizard provides the ability to generate a command line installation configuration XML file that can be used on other servers. This installation script can be used to install LexEVS without the wizard that you just went through. If you want to generate this file then click the Generate an automatic installation script button. This will have no effect on the current installation. For more information look at the instructions for Installing LexEVS 6. |
x Local Runtime (Optional Command Line Method). |
|
11. Install the latest fixes. |
A single download package with everything you need to install the Local Runtime in a graphical user environment.
LexEVS 6.0 Installer
Fixes to be downloaded and installed after the initial install:
6.0.1 JAR file Copy this file into the {LEXEVS_HOME}/runtime directory. See the ReadMe file for the latest information for about this release.
An optional download if you want to see the resolved issues and enhancements provided in the primary release. Readmes will contain information for fix releases.
LexEVS 6.0 Release Notes
An XML file allowing the user to install in a command line environment. This file can be generated by the GUI installer or downloaded here.
LexEVS 6.0 Command Line Install XML
A separate archive in Java jar format including the LexEVS classes only. The core runtime, LexEVS API, loaders, and administrative utilities are included. Ships with the GUI installer above.
LexEVS 6.0 Runtime Jar
|
|
Includes third party, open source code required by the LexEVS API. These ship with the GUI installer above.
LexEVS 6.0 Runtime dependencies
What's Inside
Now that you have the basic Local Runtime placed into LEXEVS_HOME on your server, you may want to take the time to see what's inside. This is an optional part of the install. Go to the LexEVS 6.0 x Local Runtime Installation Directory Guide to discover the contents of each of the sub directories in LEXEVS_HOME.
Configuring the LexEVS Environment
The LexEVS Local Runtime can be configured to work with many different databases, however, the recommended databases are database is MySQL or PostgreSQL. Specific versions are noted in the listing LexEVS 6.0 Prerequisite Software and Supported Platforms. Following installation of a database of your choice , you should follow these steps in order.
Step | Action |
|---|---|
1. Configure Database Management System properties |
an example of a MySQL |
configuration to optimize a database for LexEVS.
|
|
|
PostgreSQL properties
Optimizations for the Postgres DBMS are at the following link.
LexEVS 6.0 Local Runtime PostgresSQL
2. Create a database | Consult database management system documentation. We provide an example and a recommendation for MySQL. LexEVS must have access to a user with rights to create, update and delete tables. |
3. Make sure the JDBC driver is in place | The java software interface for a given supported database must be available in the <install-root>/runtime/sqlDrivers directory
|
4. Modify the LexEVS configuration file |
props with connection and database settings
| The lbconfig.props file has the latest documentation embedded inside of it. lbconfig.props should be considered authoritative if there is a difference between the documentation written here and that contained in lbconfig.props. |
5. Set DB_PRIMARY_KEY_STRATEGY | See the parameter settings documentation for more information. |
Testing the LexEVS Local Runtime
This Local Runtime installation provides a test suite to verify the environment. Before running these tests the Local Runtime and databases must already be configured.
Step | Action |
|---|---|
1. Your database management system and your web container must be running. This should already be true but if you get connection errors then it is usually due to this. | Verify |
2. In a command prompt window change to the test directory: |
|
Unix example:
|
|
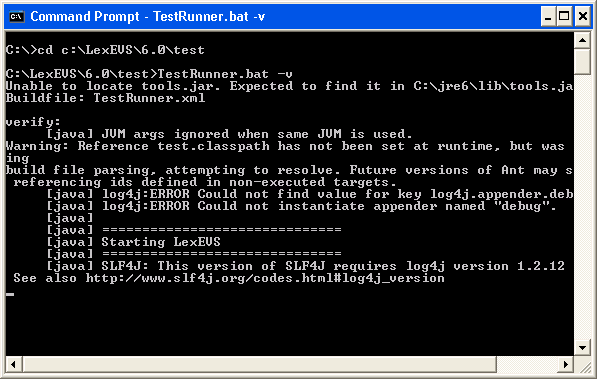
3. Each test section should have [OK] printed after it. If so then that test passed. If you see [FAIL] after a test then you will need to look into the error. When it says BUILD SUCCESSFUL at the end this simply means that the test script ran to the end. |
!worddav539e734466f100b915febc925967b13d.png
height=379,width=597,alt="screenshot illustrating step"!
]]></ac:plain-text-body></ac:structured-macro>
|
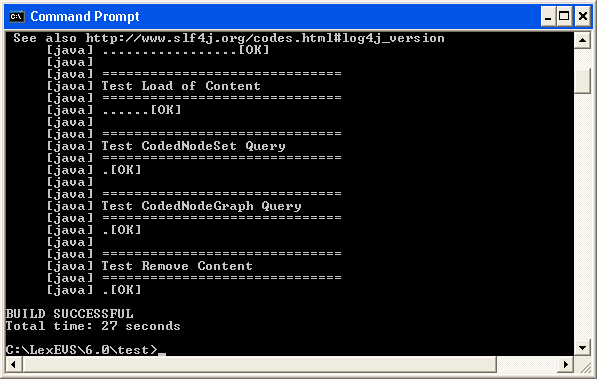
If all the tests pass then you have successfully installed the LexEVS Local Runtime. Congratulations!
...
| Note | ||
|---|---|---|
| ||
The other options for this test script run a very large set of jUnits. The use of these is documented in the script comments. Not recommended for most users. |
Troubleshooting
- If you use a space in the name of the path to install LexEVS, that is LEXEVS_HOME, you might get errors from the underlying database during runtime. It it highly recommended that you do not use a space in the path.
- Upgrading LexEVS may require reloading content. Be sure to read the release notes for each LexEVS release before installing the latest version. Preserve configuration files and indexes unless instructed to reload or do otherwise in the release notes. These files include lbconfig.props, registry.xml and the entire lbIndex directory in the resources directory. Note that the names of those last two files can be altered by variables in the lbconfig.props file.
- LexEVS loads of content are generally handled in a robust manner. Failed loads clean up after themselves relatively well when database management systems are properly configured to allow database drop functions by LexEVS. However, exiting the application in the middle of a load may cause unpredictable results. Errors will be detected for some loads and they will be listed as PENDING in any API call to the coding scheme metadata. They can be removed if this is the case, and the user can restart the load.
- Other steps may need to be taken if this doesn't work, including dropping databases as the DBA, deleting the index file for the offending terminology, and editing the registry.xml and metadata.xml files by hand.
- A quick, dirty solution is to drop all databases and delete all configuration files except lbconfig.props.
- Know when to scale database management systems for management of large terminologies. Administrators who load very large terminologies, such as the NCI Metathesaurus in single table mode, will experience very long delays while the deletion process completes.
- LexEVS is no longer distributed with a Java MySQL driver due to licensing concerns. If LexEVS reports an error concerning establishing a connection to the MySQL server yet the MySQL command line interface is able to connect, an adjustment in the version of Connector/J may be required.
- The latest version of Connector/J is available from MySQL.org. The new jar should be placed in the {LEXEVS_HOME}/runtime/sqlDrivers/ directory. If you are changing drivers remove the existing driver jar file to ensure that the class loader does not incorrectly load the older driver file.
- If the user experiences slow performance with MySQL when loading or accessing terminologies then a review of the suggested configuration parameters for the database management system is recommended. Pay particular attention to the MySQL values.
| Scrollbar | ||
|---|---|---|
|