Log in as described in Logging In - 2021-06-04. The home page appears, with objects you have specified as favorites in the Favorites panel (if any).
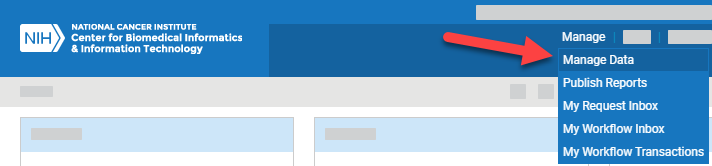
Select Manage > Manage Data. The Manage Data page appears.
Select Download Collection. The Download Collection page appears. (For instructions on adding this page to your favorites, refer to Managing Your Favorites - 2021-06-04.)
Select Download Collection Commands > Create RAVE ALS Collection. The Create New RAVE ALS Collection dialog box appears.
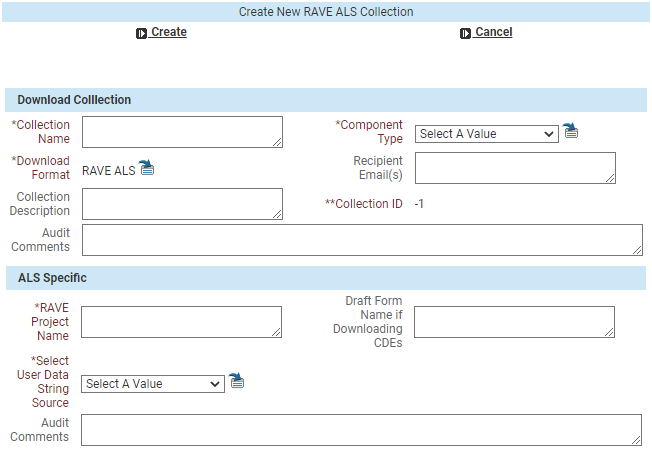
Enter information as described in the following tables:
Fill in each required field, indicated by an asterisk (*):
Field Instructions Collection Name The system uses this name to create your ALS file name with the Collection ID and system timestamp. Keep in mind the following points:
- Keep this name brief.
- Avoid special symbols:
[ ] \ / ; : % # @ $ { } | - Collection Names cannot begin with the characters 0 through 9.
- To avoid redundancy, do not include the string “ALS” in the Collection Name (the system prepends it to the file name).
- The system appends your choice of PV or PVM to the file name.
- You can create more than one collection, so consider using the project name or protocol.
Component Type Choose CDE or Form. (TBD: I'm testing only Form for now.) Download Format (TBD: We usually don't document read-only fields. At the time of release, will the user have Download Format options other than RAVE ALS?) RAVE Project Name Specify the project name that you intend to import into RAVE. Select User Data String Source Choose PV or PVM. Fill in any desired optional fields in black:
Field Instructions Recipient Email(s) Enter one or more email addresses separated by spaces for receipt of the ALS file. Collection Description Enter a description. Audit Comments Enter comments. (TBD: What is the difference between Collection Description and Audit Comments?) Draft Form Name if Downloading CDEs (TBD: I'm downloading only forms for now. I intend to review this wording after downloading CDEs.) If you are downloading CDEs, specify the draft form name. (If you leave this field blank, the system uses your user name and time stamp as the draft form name.)
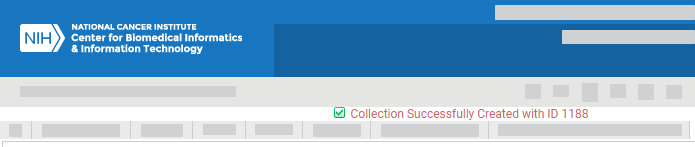
Click Create near the top of the dialog box.

The system creates your collection and displays a message with the Collection ID at top of the Download Collection page.
Accessibility![]() | Contact CBIIT
| Contact CBIIT![]() | FOIA
| FOIA![]() | HHS Vulnerability Disclosure
| HHS Vulnerability Disclosure![]() | Comment Policy
| Comment Policy![]()
U.S. Department of Health and Human Services![]() | National Institutes of Health
| National Institutes of Health![]() | National Cancer Institute
| National Cancer Institute![]() | USA.gov
| USA.gov![]()
NIH ... Turning Discovery Into Health®
Powered by Atlassian Confluence, themed by RefinedTheme