This section introduces you to the procedures for searching, viewing, and downloading Standard Operating Procedures (SOPs) and Compendiums in the Biospecimen Research Database (BRD). It includes the following topics:
Overview of Standard Operating Procedures
An SOP provides instructions for a process for which uniformity in performance are optimal and sometimes required. In BRD, SOP types are organized hierarchically, with progression to a higher level representing the work invested and the confidence the Biorepositories and Biospecimen Research Branch (BBRB) has in the document. From lowest to highest, SOPs progress through the following levels: SOP, Biospecimen Evidence-Based Practices, and Expert-vetted.
SOPs are version-controlled. Each time a new version is available in the BRD, the SOP receives a new unique identifier, called a BRD ID, allowing you to clearly identify differences between SOPs that may have clinical and scientific implications.
SOPs are available to the public. To provide comments on specific SOP versions, register with Disqus or log in with your Facebook, Twitter, or Google account. All comments are subject to moderation by the BRD Curation Team.
Searching for an SOP
You can search for SOPs by keyword or by selecting a curated field.
When searching for an SOP, there are no required fields. You can add as much detail or only those criteria that you consider essential to the search. You can also select multiple search terms in the same list by selecting the first item, pressing and holding Ctrl, and then selecting the next item(s).
If you don't specify any criteria, all SOPs appear in the search results.
To search for SOPs
- Select Search > Search SOPs.
The Search SOPs page appears.
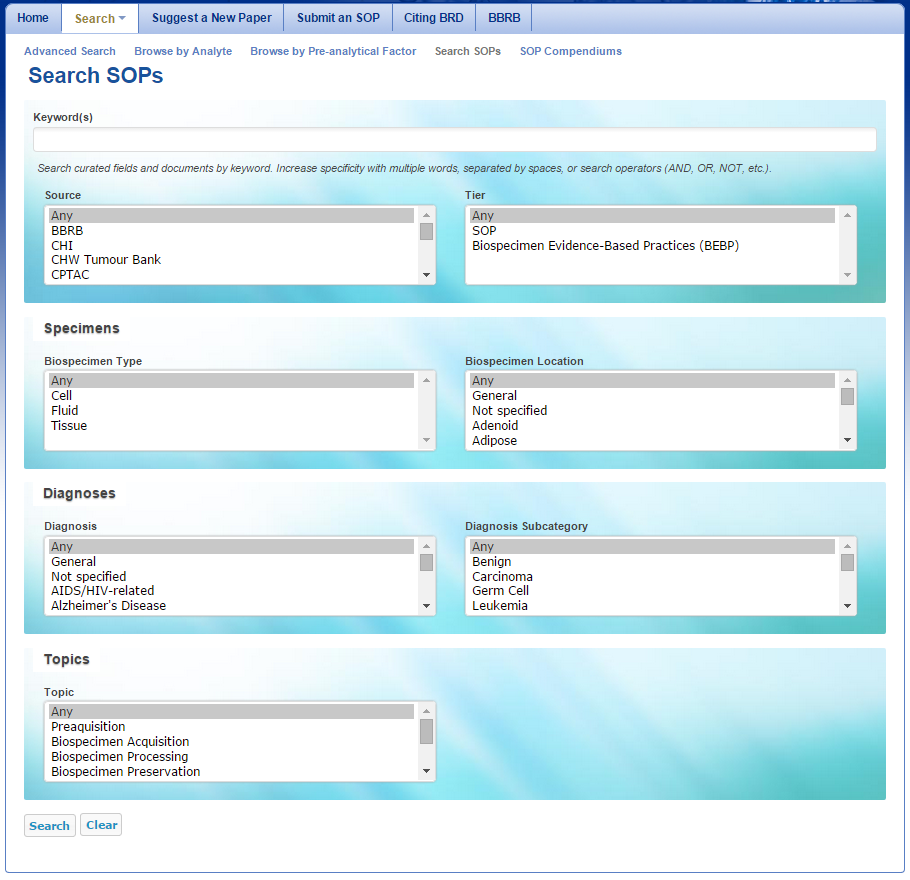
- For maximum search accuracy, specify search criteria by clicking items in the lists.
- To select multiple fields in the same list, click the first field, press and hold the CTRL key, and then click additional fields. The fields you select are highlighted and your search results contain all SOPs matching any of the fields. For example, if you select both the Cell and Fluid biospecimen types, your search results contain all SOPs that concern either cells or fluid.
When you select fields from different lists, you narrow your search. For example, if you select the Cell biospecimen type and the Kidney biospecimen location, your search results include SOPs that concern both cells and kidneys.
The following table describes the SOP search criteria.
Note that the selections you make in the lists on the left determine the selections in the lists on the right. For example, selecting the Biospecimen Type “Fluid” makes “Blood” an available Biospecimen Location.
SOP Search Criteria
Description
Source Select the organization or institution that developed the SOP. Tier SOPs are organized in a hierarchy system. The base tier is SOP. Progression to a higher tier will represent the work invested and the confidence level BBRB has in the document. - SOP: A library of collection of SOPs reviewed and formatted for public dispersal.
- Biospecimen Evidence-Based Practices: An SOP that has been transformed into evidence-based procedural guidelines. The protocols are more flexible, indicating the optimal but also acceptable practices when possible. Evidence is summarized in "Summaries of Literature Evidence" and includes internal citation and two reference sections (one for laboratory guidelines and one for literature references).
Specimens
Biospecimen Type
Select the type of biospecimen (Cell/Fluid/Tissue).
Biospecimen Location
Select the anatomical location from which the biospecimen was obtained.
Diagnoses Diagnosis
Select the term that identifies the nature of a disease or condition associated with the biospecimen.
Diagnosis Subcategory
Select the diagnosis subdivision that differentiates the disease within the larger category.
Diagnosis Subcategory is only available for the diagnosis "neoplastic.”
Topics Topic
Select the topic or scope of the SOP document.
If you want to search for items not present in the lists such as specific genes or biomarkers, enter those items in the Keyword(s) box. A keyword search searches all curated fields as well as the SOP document.To increase specificity, you can combine the keyword search with other fields on the Search SOPs page. You can enter multiple words into the Keyword(s) box with or without a search operator. See Conduct a Simple Search for a list of supported search operators. See the table below for field-specific search operators.
Case-Sensitivity
All fields and search operators are case-sensitive.
Field-Specific Search Operator Example Results Prefacing a search phrase with Title limits the query for the search phrase to the SOP title. title: GTEx All SOPs containing the word GTEx in their title fields. Prefacing a search phrase with Description limits the query for the search phrase to the SOP description. description: "surgical tissue" All SOPs containing the exact phrase "surgical tissue" in their description fields. Prefacing a search phrase with BRD-ID limits the query for the search phrase to the BRD ID. brdId: 8 The single SOP with a BRD ID of 8. Prefacing a search phrase with Body limits the query for the search phrase to the SOP document. body: procurement procedure All SOPs containing the words procurement and procedure in the body of the document. Gene symbol use is not standardized, so search by the full gene name.
Click Search.
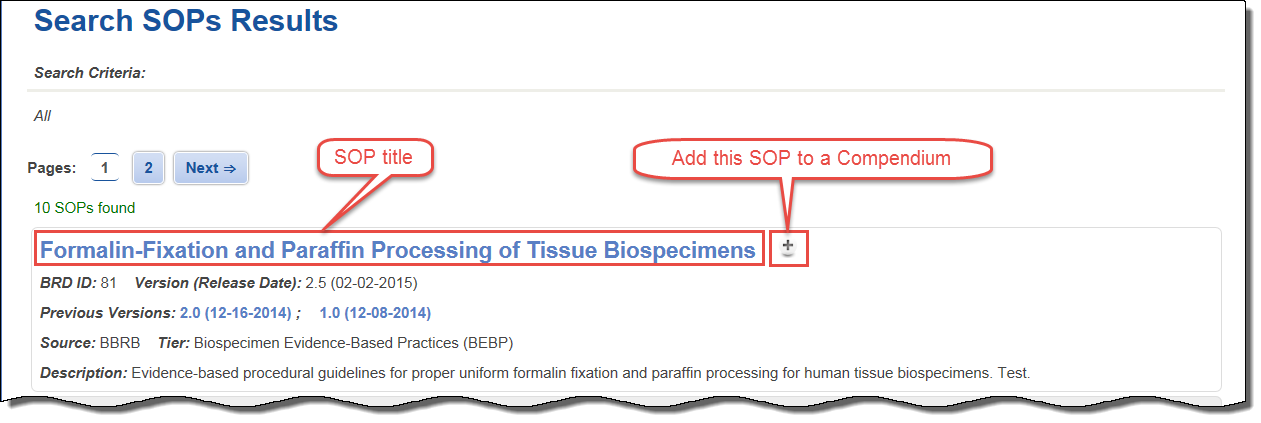
The Search SOPs Results page appears, summarizing your search criteria and the SOPs matching them. Click any SOP title to view the SOP.
Viewing and Downloading SOPs
Clicking an SOP on the Search SOPs Results page opens the SOP page, where you can view a detailed description of the SOP and download associated SOP files.
When multiple SOP versions exist for a single SOP, you can download them as a ZIP file.
To view an SOP
- Search for SOPs.
The Search SOPs Results page appears. Click an SOP title link.
The SOP page appears.
Return to the search results
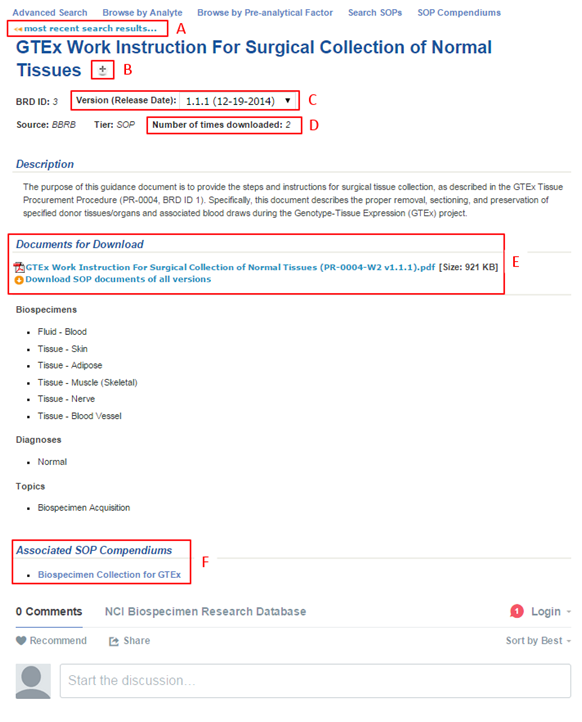
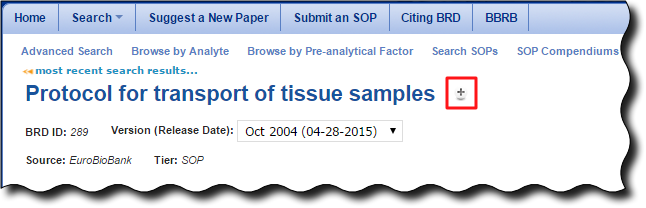
Return to the search results by clicking most recent search results... (A) at the top-left of the page.
- Note the following information about the SOP on this page:
- The BRD ID is unique for this version of the SOP.
- You can add the SOP to a Session Compendium (B).
- You can select a different version of this SOP from the Version (Release Date) list (C).
- The source of the SOP is listed.
- The tier (SOP, Biospecimen Evidence-Based Practices, or Expert-vetted) of this SOP is listed. The SOP can progress to a higher tier.
- A description of the SOP is listed.
- The number of times the SOP has been downloaded is also displayed (D).
- Biospecimen types and locations, diagnoses, diagnosis subcategories, and topics represented in the SOP are listed.
- Download the documents associated with this SOP by clicking links under Documents for Download (E). Files listed here are either in Adobe Acrobat or Microsoft Word format.
- If more than one version of an SOP exists, click Download SOP documents of all versions instead to download a ZIP file of all SOP documents.
- If the SOP is part of a larger compendium or family of SOPs, click the links under Associated SOP Compendiums (F). If the SOP is not associated with a compendium, this section does not appear.
- If the SOP is related to another SOP of a higher or lower tier, click the links under Additional Tiers of this SOP. For example, if an SOP were promoted to the Biospecimen Evidence-Based Practices tier, creating a new SOP, the relationship between the two SOPs would appear in this section. If the SOP does not have a relationship to another SOP, this section does not appear.

Commenting on an SOP
Add a comment to an SOP version to share your thoughts with others. Before you can comment, you must either register with Disqus or log in with your Facebook, Twitter, or Google account. All comments are subject to moderation by the BRD Curation Team.
To add a comment to an SOP
- On an SOP page, select the version of the SOP to which you want to add your comment.

- Scroll to the bottom of the page to the comment box.

Click the arrow next to Login and select the method by which you would like to log in: Disqus, Facebook, Twitter, or Google.
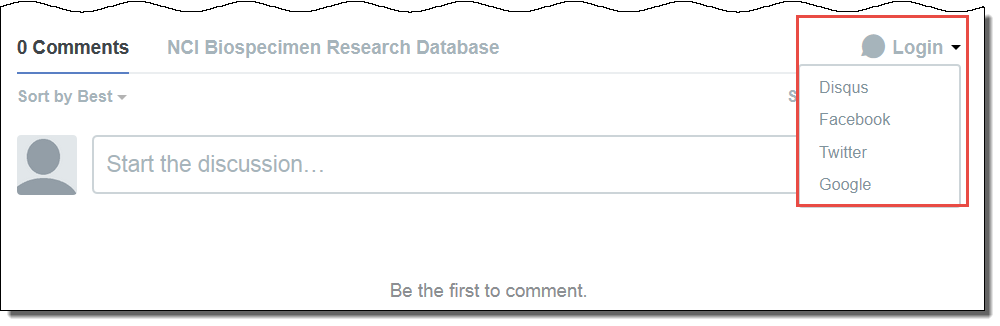
- Follow the prompts to either create and log in with a Disqus account, log in with an existing Disqus account, or log in with a social media account. If you choose a social media account, you merge that account with Disqus and can log in with those credentials each time you want to comment.
- In the comment box, enter your comment. If you have not yet logged in, the application prompts you to log in using one of the methods in the previous step.
- Click Post to complete the comment.
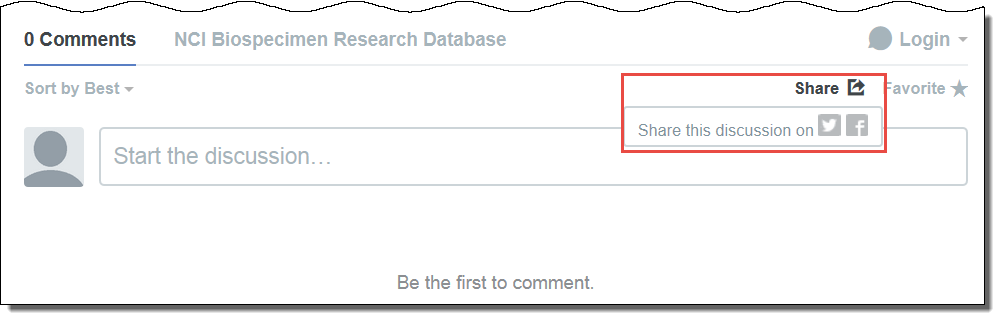
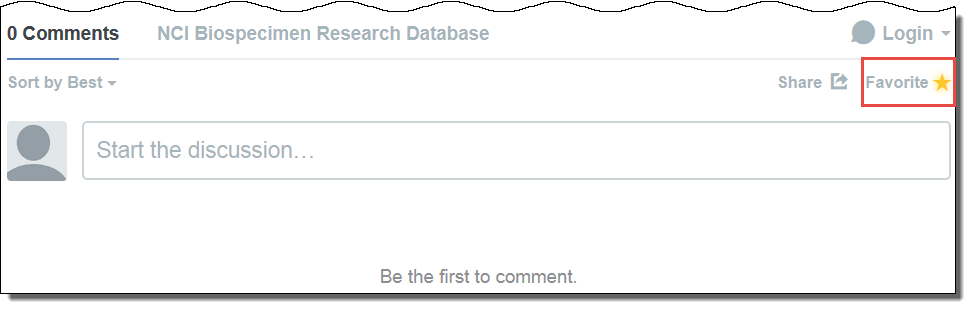
- Optionally, sort the comments, share them on social media, and make the SOP a favorite.
To sort the comments, select one of the following options from the Sort by list:
- Best - Comments with the most votes trending over time.
- Newest - Most recent comments first.
- Oldest - Oldest comments first.
To share the comment, click Share and then click either the Twitter or the Facebook icon.
To make the SOP a favorite, click the star next to Favorite.
For more information about using Disqus, see the Disqus Knowledge Base.
Understanding Versioning
Any time the BRD curation team updates an SOP or a Compendium, a new version of that SOP or Compendium is created with a unique BRD-ID. The most recent versions of the SOP or Compendium are displayed by default. Differences may exist between versions that have clinical and scientific implications.
Before you download an SOP or a Compendium, confirm that you have selected the correct version, if applicable. Versions are associated with a release date.
The following is an SOP version list:
The following is a Compendium version list:

When multiple versions of an SOP exist, you can download all of them at once as a ZIP file. You can also download all SOP documents associated with a Compendium at once as a ZIP file.
To download SOP documents of all versions
- Search for an SOP.
Search results appear. If multiple versions of the SOP exist, the SOP listing includes a Previous Versions field.

- Select the SOP.
The SOP details page appears.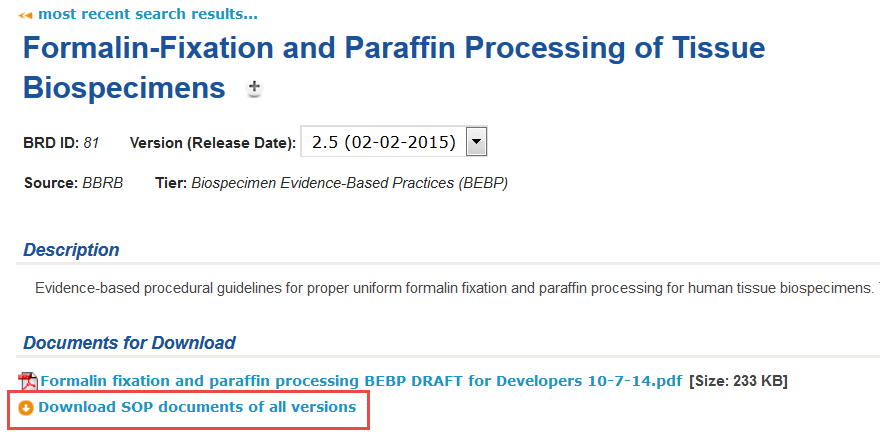
- Click Download SOP documents of all versions.
Your browser prompts you to open or save a compressed folder of the SOP documents.
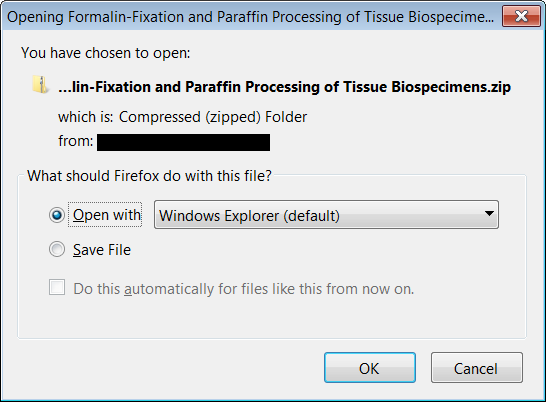
- Open or save the folder.
The SOP documents are now available on your computer.
Overview of Compendiums
You can work with SOPs individually or with a Compendium. A compendium is a family of SOPs that a curator has created. Compendiums can be project-specific.
You can also create a Session Compendium that lasts only for a work session. You can add any version of one or more SOPs to this Compendium and then download them all at once as a ZIP file.
Compendium Examples
- All SOPs for the GTEx program that pertain to biospecimen collection.
- A collection of SOPs that can be used together. For example, a biospecimen collection SOP that was created to be used with a formalin-fixation SOP, that also has a separate tissue processing SOP.
Adding an SOP to a Session Compendium
To add an SOP to a Session Compendium
Search for an SOP.
Search results appear.
You can also add an SOP to a compendium from the SOP page. The
 is next to the SOP title.
Click
next to the SOP title.You can add more than one version of the same SOP to a Session Compendium.
The SOP is added to the Session Compendium.
Note that the
button becomes a  . Click the button to remove the SOP from the Session Compendium.
To view all SOPs in the Session Compendium, click the folder icon next to the Help link at the top left of the page.

The My SOP Compendium page appears.

Viewing Session Compendiums
Any user can create their own Compendium that lasts only for the duration of a work session. When you end the work session and close the browser window, the Session Compendium is deleted.
To view a Session Compendium
- On the BRD home page, click the folder icon to the right of the ? help link.
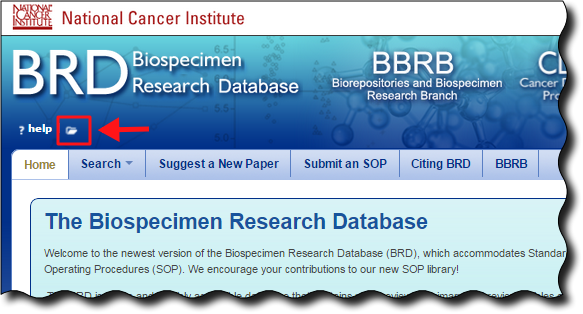
The My SOP Compendium page appears, listing your Session Compendium.
- Remove an SOP from the Session Compendium by clicking the in the Action column.
- Click Download all SOP documents to download all documents as a ZIP file.
- Click Clear to remove all contents of the Session Compendium.
- Remove an SOP from the Session Compendium by clicking the
Viewing All Compendiums
You can view all public Compendiums and sort the list by title and release date.
To view a list of compendiums
- Select Search > SOP Compendiums.
The SOP Compendium page appears, listing all public Compendiums.
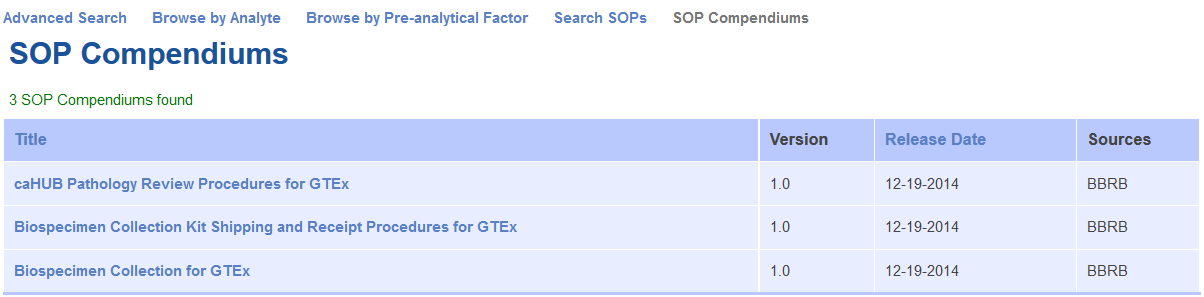
You can do the following on this page:
- Sort the list by title or release date by clicking the respective column heading.
- Click an SOP title link to see the details for the SOP on the SOP page.
Viewing Compendium Details
You can view the details of a Compendium including its available versions and a list of all SOPs associated with it.
To view Compendium details
- Open the SOP Compendiums page.
- Click a Compendium in the list.
The SOP Compendium page appears.
You can do the following on this page:
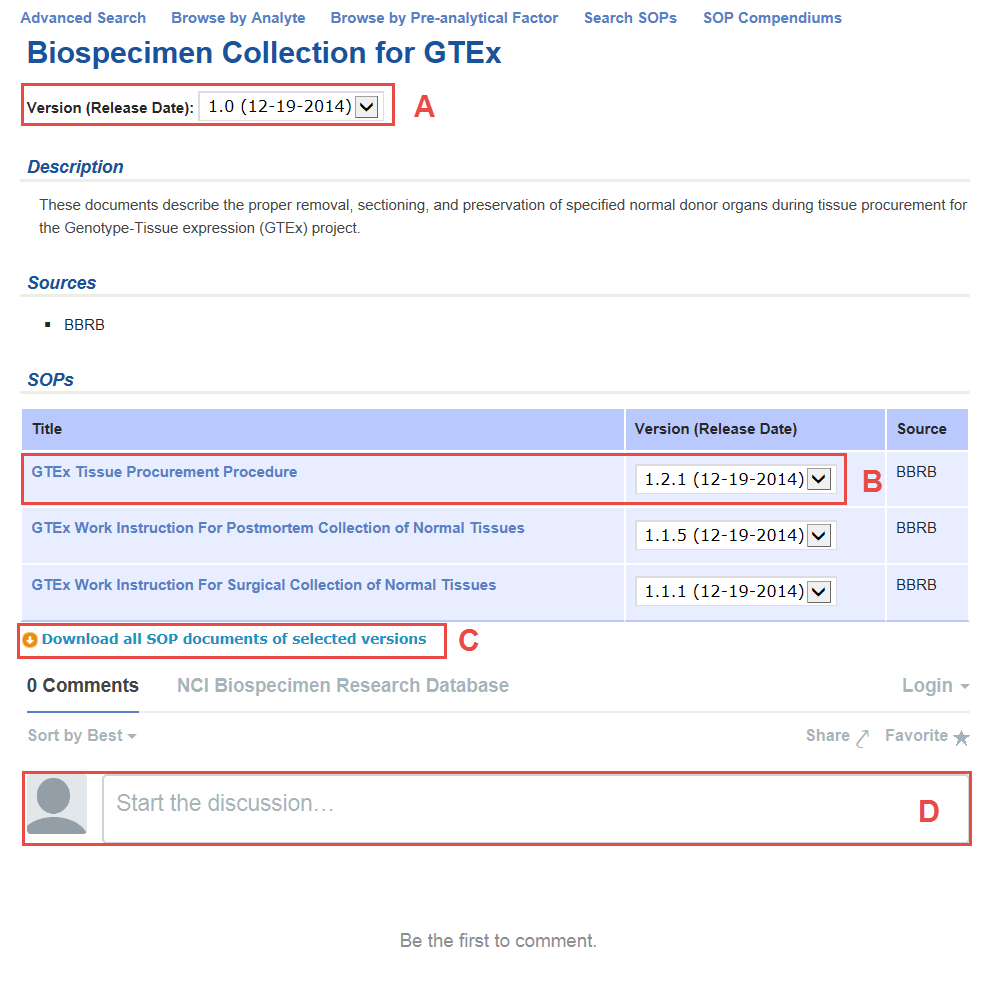
- Like SOPs, Compendiums can have different versions. Select the version of the Compendium (A) you want to view.
- The SOP section lists all of the SOPs included in this compendium. Select the SOP version and then click an SOP title (B) to view the SOP details page.
- Download all SOP documents of the compendium version you selected (C).
- Comment on this version of this compendium (D).
Commenting on a Compendium
Add a comment to a Compendium version to share your thoughts with others. Before you can comment, you must either register with Disqus or log in with your Facebook, Twitter, or Google account. All comments are subject to moderation by the BRD Curation Team.
To add a comment to a Compendium
- Open an SOP Compendium page .
- Select the version of the Compendium to which you want to add your comment.
- Scroll to the bottom of the page to the comment box.
Click the arrow next to Login and select the method by which you would like to log in: Disqus, Facebook, Twitter, or Google.
- Follow the prompts to either create and log in with a Disqus account, log in with an existing Disqus account, or log in with a social media account. If you choose a social media account, you merge that account with Disqus and can log in with those credentials each time you want to comment.
- In the comment box, enter your comment. If you have not yet logged in, the application prompts you to log in using one of the methods in the previous step.
- Click Post to complete the comment.
- Optionally, sort the comments, share them on social media, and make the compendium a favorite.
To sort the comments, select one of the following options from the Sort by list:
- Best - Comments with the most votes trending over time.
- Newest - Most recent comments first.
- Oldest - Oldest comments first.
To share the comment, click Share and then click either the Twitter or the Facebook icon.
To make the Compendium a favorite, click the star next to Favorite.
For more information about using Disqus, see the Disqus Knowledge Base.
Submitting an SOP
If you know of an SOP that would be a useful addition to the Biospecimen Research Database, you can suggest it. SOP submissions are screened against BRD contents to prevent duplication. Curators will review each submission and add BRD-appropriate SOPs to the database.
If you include your email address, you will receive an email with a link to monitor the status of the submitted SOP.
To submit a new SOP
- Click the Submit an SOP tab. The Submit an SOP page appears.
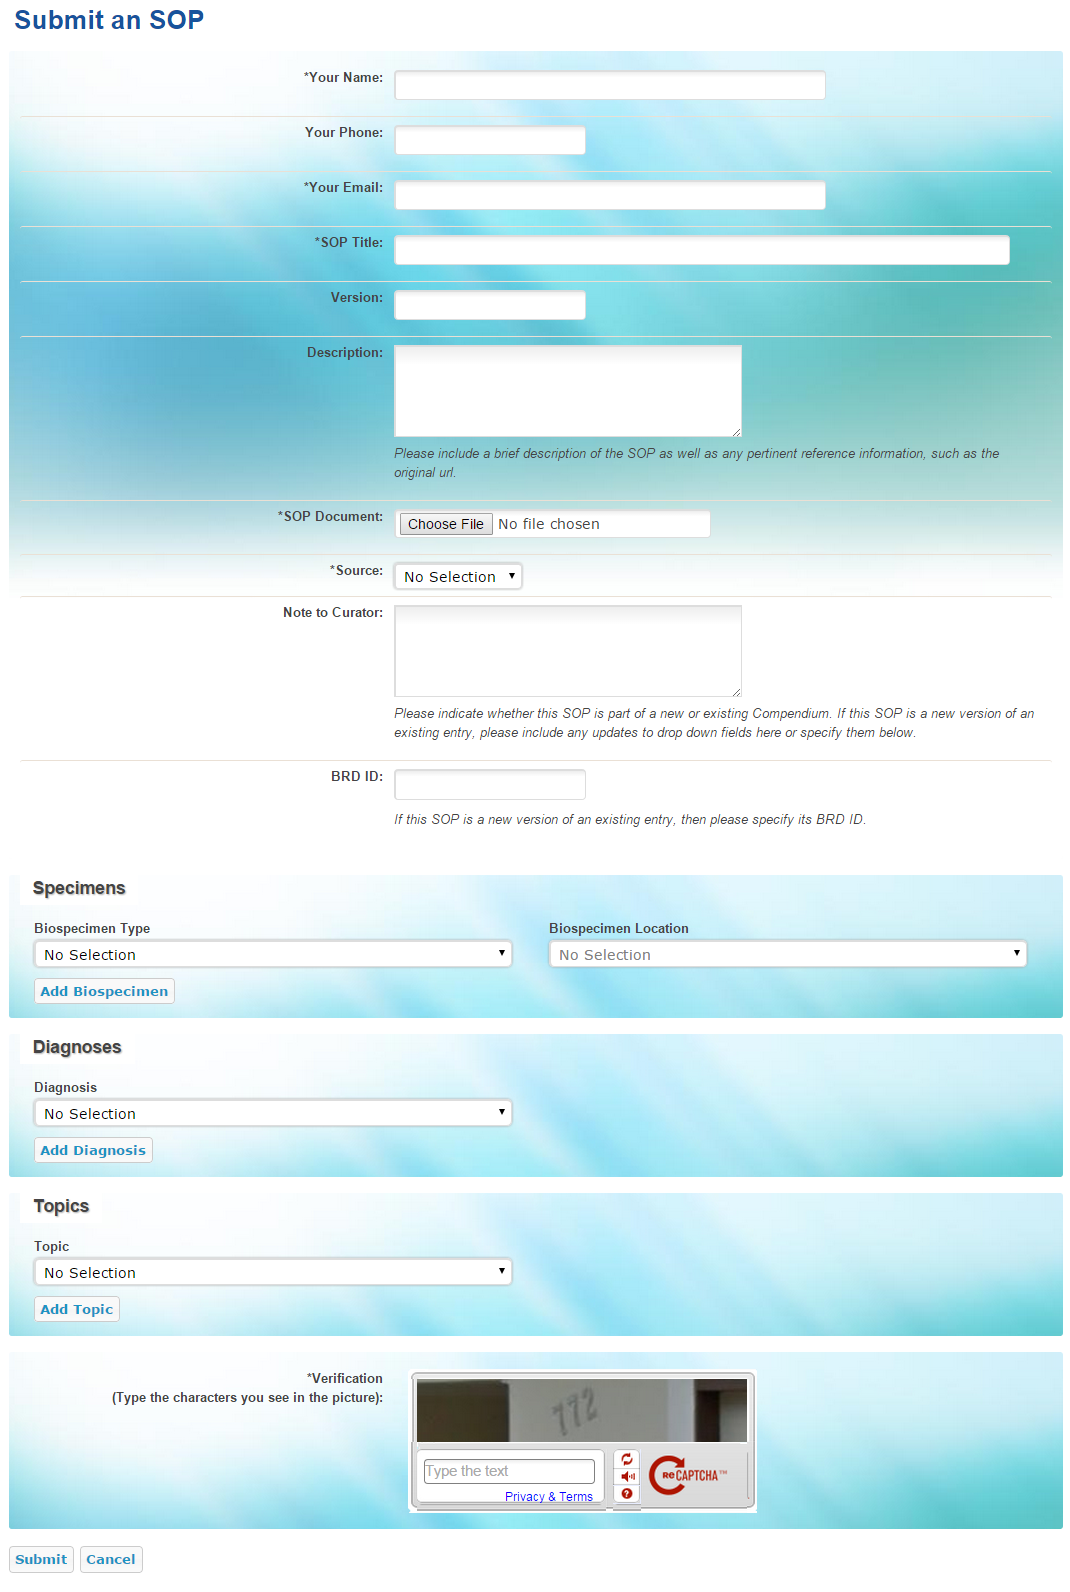
- Enter the following required fields about yourself: name, email address, and organization.
- Optionally, provide your phone number.
- Enter the SOP's title.
- Optionally, enter the SOP's version and description. The Description field should include relevant information about the SOP, its source, and any other URLs where it may be found. This field will be made public.
- Click Browse to upload the SOP document.
- From the Source list, select the organization or institution that developed the SOP. If the Source is not listed, select "Other" and type the Source into the text box.
- In the Note to Curator box, indicate whether this SOP is part of a new or an existing Compendium. If this SOP is a new version of an existing entry, include any updates to fields here or specify them by selecting additional biospecimens, diagnoses, and topics (see steps 10-12). Note that this field will remain private and will not be published as part of the entry.
- If the suggested SOP is a new version of an existing BRD entry, enter its BRD ID. The BRD ID is located on the SOP page of individual versions. Use the BRD ID of the last published version of this SOP, if applicable.
- Select the biospecimen associated with this SOP suggestion, as follows:
- From the Biospecimen Type list, select a biospecimen. Options are Cell, Fluid, and Tissue.
Select the anatomical location from which the biospecimen was obtained.
Click Add Biospecimen.
You can add multiple biospecimen types and locations to the SOP suggestion.
From the Diagnosis list, select the term that identifies the nature of a disease or condition associated with the biospecimen, then click Add Diagnosis. Not Specified and General are available options. You can add multiple diagnoses to the SOP suggestion.
- From the Topic list, select the topic or scope of the SOP suggestion, then click Add Topic. You can add multiple topics to the SOP suggestion.
- In the Verification area, enter the characters exactly as you see them. If you cannot see the characters you can click the refresh icon to obtain a new set of characters.
- Click Submit.