Each ISA archive that you upload must be in .zip format. If the file is 100 GB or smaller, you can upload it from your computer. (If the file is larger than 100 GB, use Globus instead, as described in Uploading Large Files from Globus.)
To upload an ISA archive
- Begin uploading your ISA archive by creating a folder in CSSI DCC:
- Log in to the CSSI DCC Portal, as described in Logging In to the CSSI DCC Portal.
Select Investigations > Upload. The Upload ISA Archives page appears.

The Upload Single ISA Archive tab allows you to upload only one archive at a time.Enter a unique name for your new folder. Note that this name can differ from the title within the ISA archive.
Click Create. The File Upload section appears, with the new folder name above it.
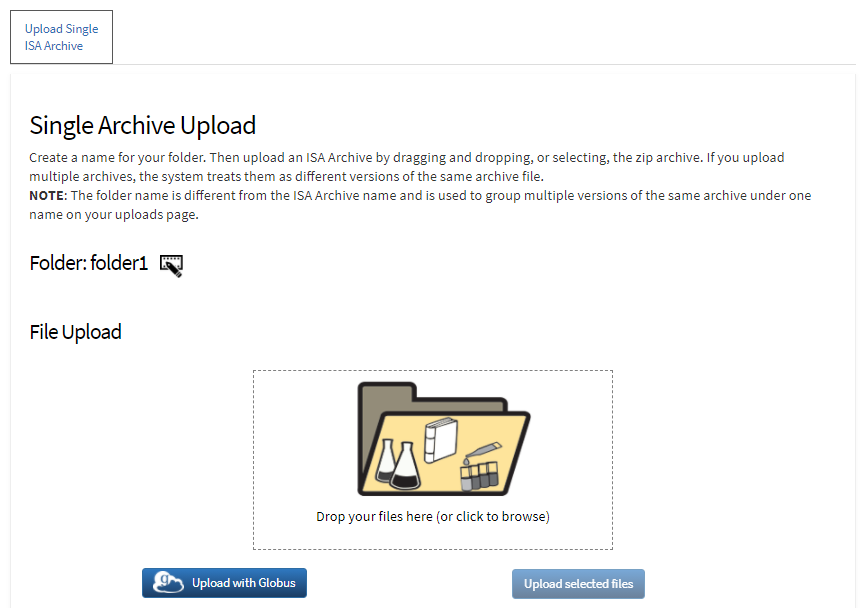
Select the ISA archive you want to upload to this folder in one of the following ways:
Drag and drop the file from your computer to the Drop your files here box surrounded by the dashed lines:
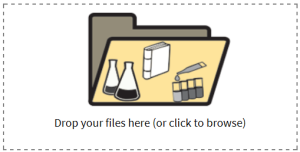
Click the Drop your files here box image and browse to where the file is stored.
The file is listed in the File Upload area and the status is listed as Ready.
If the file is 100 GB or smaller, click Upload selected files. If the file is larger than 100 GB, use Globus instead, as described in Uploading Large Files from Globus.
The file begins processing and the status moves through the following stages:
- Uploading
- Processing: Queued
- Processing: Scanning File
- Processing: No viruses or malware found
- Processing: Preparing uploaded files
- Processing: Parsing ISA TAB Metadata
- Processing: Preparing Data Files
- Processing: Validating assay files and file sizes
- Processing: Archiving Full Data File
- Success: File processed successfully
If errors appear, refer to Understanding Upload Errors. When the system finishes processing the upload request, the uploaded file appears as a new folder in the list of folders at the top of the page. At this point, the new folder contains only one investigation version.
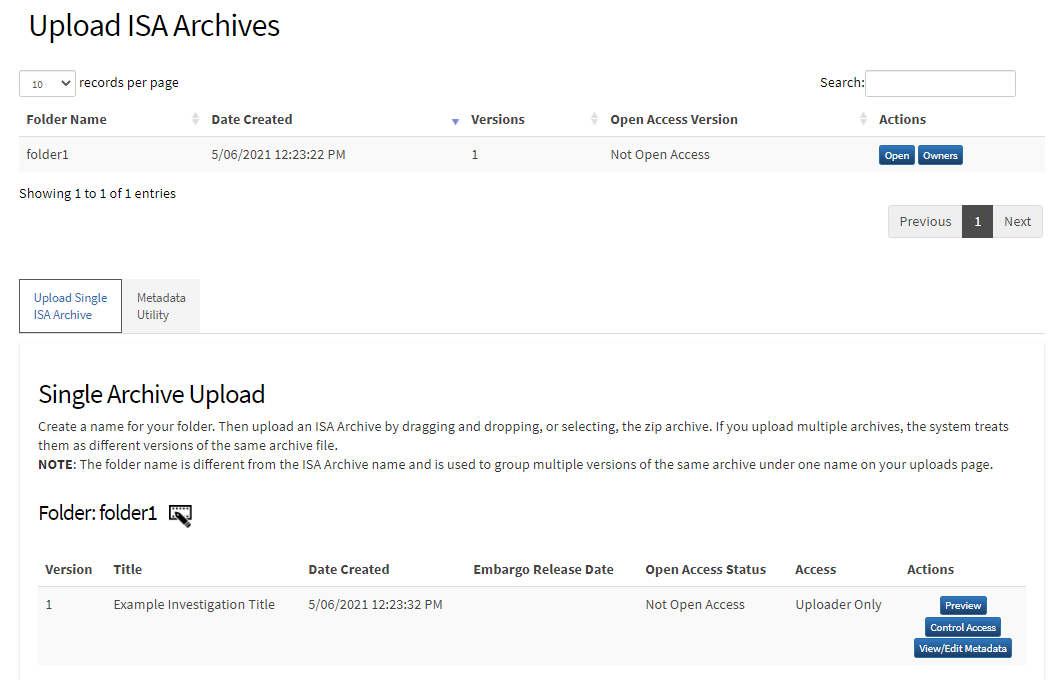
If needed now or later, to change the folder name, click the icon next to the folder name.
- If needed now or later, to edit the metadata of an investigation version, click View/Edit Metadata in the row for that version. The edit metadata page for that investigation version appears. For details, refer to Editing Investigation Metadata.
Consider making this version available to all CSSI DCC users by requesting open access for this version. For instructions, refer to Requesting Open Access for an Investigation.