Page History
...
Log in as described in Logging In - 2021-06-04. The home page appears, with objects you have specified as favorites in the Favorites panel (if any).
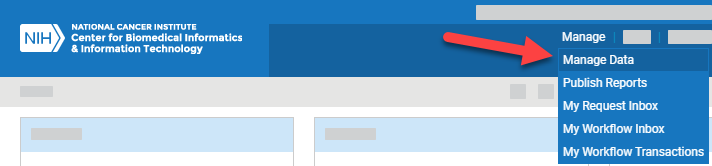
Select Manage > Manage Data. The Manage Data page appears.
Select Download Collection. The Download Collection page appears. (For instructions on adding this page to your favorites, refer to Managing Your Favorites - 2021-06-04.)
Select Download Collection Commands > Create RAVE ALS Collection. The Create New RAVE ALS Collection dialog box appears.
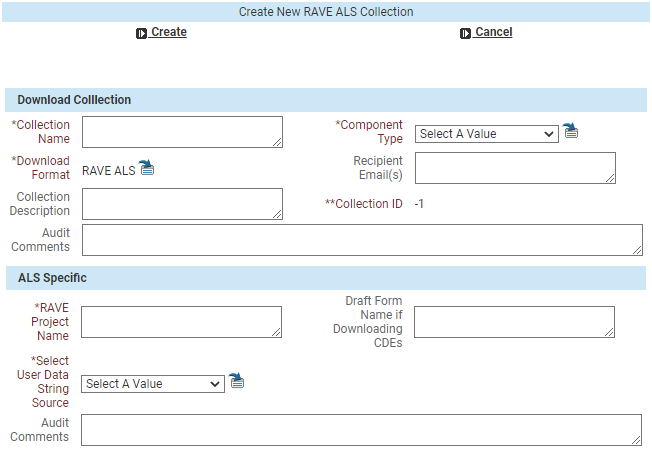
Enter information as described in the following tables:
Fill in each required field, indicated by an asterisk (*):
Field Instructions Collection Name The system uses this name to create your ALS file name with the Collection ID and system timestamp. Keep in mind the following points:- Keep this name brief, 125 characters or less. (The maximum length for an a Microsoft Excel file name is 218 characters, accounting . Accounting for a folder/path name of no more than 50 characters, the caDSR system appends 43 characters to the name for the collection and timestamp, leaving 125 characters.)
- Avoid special symbols:
[ ] \ / ; : % # @ $ { } | - Collection Names cannot begin with the characters 0 through 9.
- To avoid redundancy, do not include the string “ALS”, “PV”, or “PVM” in the Collection Name (because the system prepends this information to the file name).
- You can create more than one collection, so consider using the project name or protocol.
Component Type Choose CDE or Form. RAVE Project Name Specify the project name that you intend to import into RAVE. This will appear appears in the ALS on the CRFDraft tab, column in the "ProjectName" column, and also as a field that can be used as a filter in Child Filter = the ALS Specific child filter. Select User Data String Source Choose PV or PVM. This will cause Based on this selection, the system to insert inserts either the CDE's PV or the PVM as the "UserDataString" on the Fields tab, regardless of what is selected on the Form for this Question. Fill in any other fields, as needed:
Field Instructions Recipient Email(s) Enter one or more email addresses separated by spaces for receipt of the ALS file. Collection Description Enter a description. Audit Comments Enter comments. Draft Form Name if Downloading CDEs If you are downloading CDEs, optionally specify a Draft Form Name. This text will appear appears on the Forms tab in the "DraftFormName" column and will be is the name of the Primary Form when loaded into RAVE.
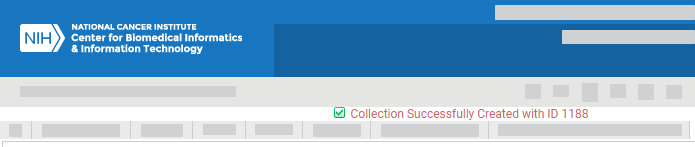
Click Create near the top of the dialog box.

The system creates your collection and displays a message with the Collection ID at top of the Download Collection page.
To add forms to your collection, refer to the following pages:
- Adding Items to a Collection via the Public ID - 2021-10-08
- Adding Items to a Collection via the Cart - 2021-10-18
| Include Page | ||||
|---|---|---|---|---|
|